

- 00000018WIA30F41970GYZ
- id_400246941.6
- Jul 20, 2022 4:08:13 PM
MR-Touch: set up the patient
About this task
| Component | Description |
|---|---|
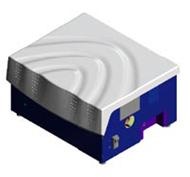
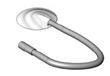 | Passive acoustic driver, which is located in the MRI equipment room. The attached tube is 3 feet (0.9144 meter). Passive acoustic driver is a Type B applied part. |
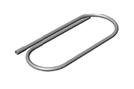 | Short tubing, approximately 9 feet (2.7432 meters). |
 | Long tubing, approximately 24 feet (7.3152 meters) Total tubing length with driver + short + long = 36 feet (10.9728 meters). |
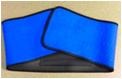 | Elastic belt used to secure passive driver in place. |
 | Active acoustic driver, which is located in the MRI equipment room. |
| Warning | |
|---|---|
Step-by-step instructions
- For liver imaging, place the Passive Driver over the patient’s gown on the right side of the abdomen at the level of the xyphoid process.
Figure 1. Passive driver placed on patient 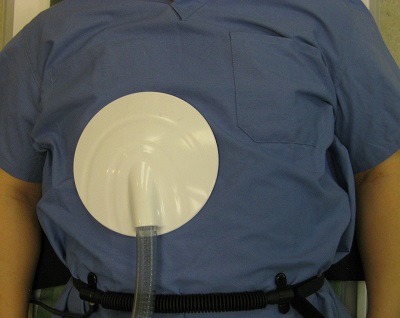
- Secure the elastic belt snugly around the patient and Passive Driver to hold it in position and to minimize air gaps between the driver and the patient. This provides optimum transfer of vibrations into the liver. Make sure the belt is secure but not so tight that it restricts normal breathing. The patient’s arms can be positioned either above the head or at the sides.
Figure 2. Passive Drive held in place by elastic belt 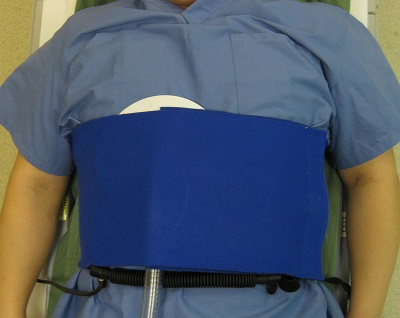
- Place the surface coil over the Passive Driver and bellows/pillow.
Figure 3. Coil placed over Passive Driver and bellows/pillow 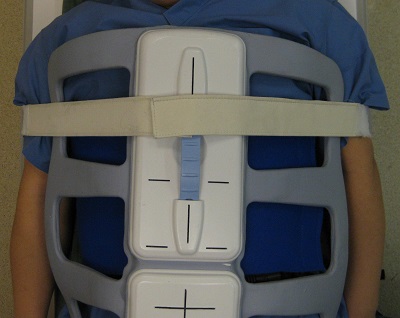
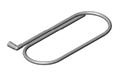
CAUTION - Attach Passive Driver to tubing.
Figure 4. Driver tubing 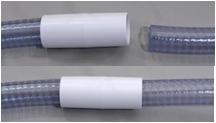
Warning