

- 00000018WIA3091E770GYZ
- id_400261921.4
- Mar 28, 2022 12:20:57 PM
Screen Save
Before you begin
Consider this information when you use Screen Save.
- The W/L and zoom values are still adjustable on a screen saved image.
- Any annotation that is on the image cannot be removed once the screen has been saved; it is a “snapshot” of the screen and cannot be altered.
- Screen Saved images have post-processing restrictions (for example, they cannot be filtered).
- The Screen Saved images are saved in an SSAVE Screen Save series and they can be archived and networked.
About this task
Step-by-step instructions
- Screen save an image can be done from either of the following locations.
- Film/Save tab
Figure 1. Screen Save icon on the Film/Save tab 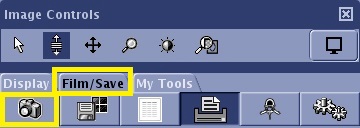
- The images are saved to the Patient List as a series # 99.
Figure 2. SSAVE series when an image is saved from the Film/Save tab 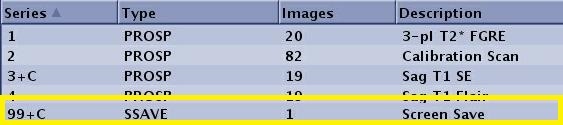
- The images are saved to the Patient List as a series # 99.
- Bottom menu bar on the Text Page screens (Exam, Series or ROI)
Figure 3. Bottom menu bar on a Text Page 
- The images are saved to the Patient List as a series # 98.
Figure 4. SSAVE series when an image is saved from a Text screen 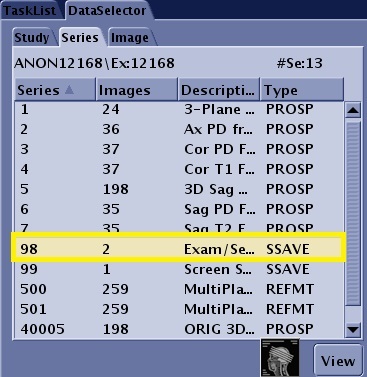
- The images are saved to the Patient List as a series # 98.
- Film/Save tab