

- 00000018WIA30E0F770GYZ
- id_400267511.2
- Mar 9, 2022 4:21:57 PM
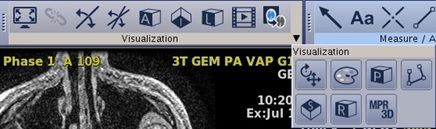
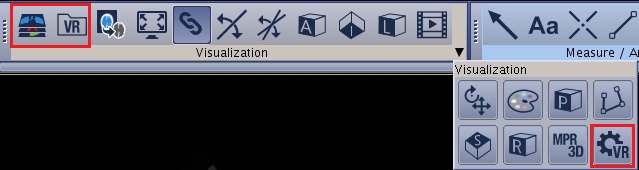
Toolbar: visualization icons
The visualization icons provide the ability to interact with the display of images.
The order of the icons on the toolbar are based on your preferences. To customize the icons on the toolbar, see Toolbar preferences procedures.
| Icon | Description/procedure |
|---|---|
| Enlarge view
Click to view an image full screen. For details, see: Scroll through the images procedure. | |
|
| Link/Unlink
When comparing several exams or series, volumes are automatically linked by the cursor location and are synchronized (or registered) as you scroll through the images. This tool is activated only when multiple volumes are loaded. For details, see: Link/unlink procedure. |
| Simple oblique
Use to display a line cursor in Reformatted views that is used to define a new plane. For details, see Simple oblique procedure. | |
| Multi oblique
Use to display three oblique planes defined by three adjustable color axes (orange, green, blue). For details, see Multi-oblique procedure. | |
| Anatomic orientation
The Anatomic Orientation icons are used to change the planes of 3D or Oblique reformatted images. [A] = Anterior [P] = Posterior [I] = Inferior [S] = Superior [L] = Left [R] = Right For details, see Change the image/map in a viewport procedure. | |
| Cine
Use to automatically page through all the slices of a single phase series or control a 4D Cine of multiphase series. For details, see: View images in a movie procedure. | |
| Integrated Registration
Use Integrated Registration for image registration (fusion) of multiple modalities. For details, see: Integrated Registration procedure. | |
| Rotate/Translate
Use to rotate and translate an image from a specific angle and set degrees of rotation. For details, see: Rotate or translate image procedure. | |
| Color
Use to select a Color Map or a Custom Color and then apply it to all non-VR viewports. For details, see: | |
| Trace
Use to create a Curved reformatted image. For details, see Trace procedure. | |
| MPR/3D
Use MPR/3D as a guide to create MPR and 3D views. For details, see: Multiplanar and 3D procedure. | |
| Multi-Objects
Use to hide/show, delete or adjust the transparency of each object in a Volume Rendered merged image. For details, see Multi-Objects procedure. | |
| VR basic settings
Use to adjust a Volume Rendered object opacity and to use preset opacity settings. For details, see Volume Rendered basic settings procedure. | |
| VR advanced settings
Use to change a Volume Rendered structure’s opacity based on an interactive histogram. For details, see Volume Rendered advanced settings procedure. |