About this task
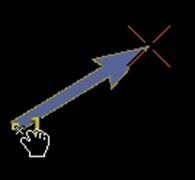
Use these steps to deposit size and position an arrow on a viewport.Figure 1. Arrow
Step-by-step instructions
- Open the MR General Review.
- From the Measure/Annotate Toolbar, click the
 .
. - Click the viewport in which you want to deposit an arrow.
- An arrow deposits on the active viewport.
- When an arrow is deposited on a 3D viewport, the arrow appears on all corresponding 2D viewports.
- Click and drag anywhere on the arrow to move it.
- Click the end of the arrow to change the length and orientation.
Figure 2. Arrow end used to change length and orientation
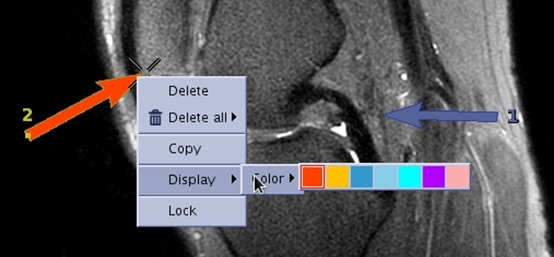
- To change the arrow color, right-click on the arrow and select and click a color.
Note: You can have multiple arrow colors on a viewport.
Figure 3. Arrow color selection
- To copy/paste the arrow color, follow these steps.
- Right-click on the arrow and select Copy.
- Move the cursor to the desired location.
- Click to paste the copied arrow.
- To lock an arrow in place on the viewport so it cannot be moved, follow these steps.
- Right-click the arrow you want to lock and select Lock.
- To unlock the arrow, right-click a locked arrow and select Unlock.
- To remove the arrow from the viewport, see Remove image graphics.