

- 00000018WIA306AB970GYZ
- id_400236641.4
- Mar 29, 2022 2:59:17 PM
Deposit a 2D ROI
Before you begin
- 2D ROIs cannot be placed on a 3D view.
- The statistics for the last 3 ROIs are displayed at the bottom of the screen. The statistic's color matches the active ROI's color.
About this task
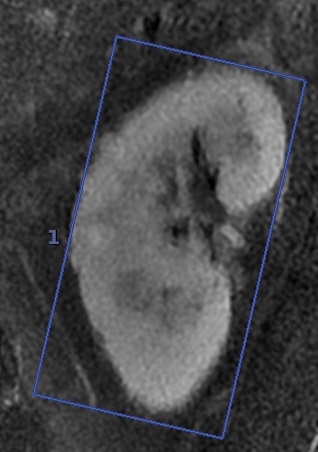
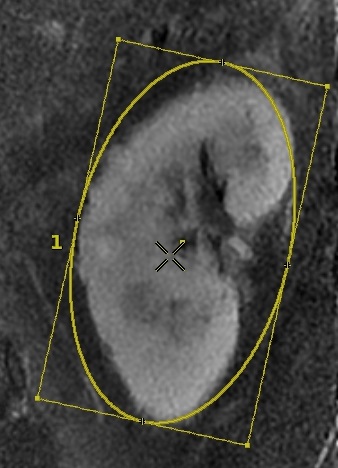
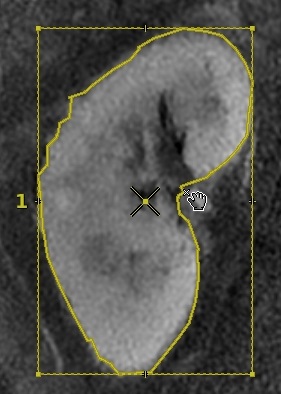
| Box ROI | Elliptical ROI | Trace ROI |
|---|---|---|
 |  |  |
| 2D ROI statistics
| ||

Use these steps to deposit a 2D ROI to obtain information such as areas and statistics of anatomy or pathology.
Step-by-step instructions
- From the Measure/Annotate Toolbar, click one of the 2D ROI icons.
- Rectangular ROI icon

- Elliptic ROI icon

- Freehand Trace ROI icon

- Rectangular ROI icon
- From the Review Controller, click a Graphic Bookmark (
 ) to navigate between ROIs.