Use these steps to create new annotation presets, edit an existing preset annotation or delete a preset annotation.
Step-by-step instructions
Open the MR General Review.
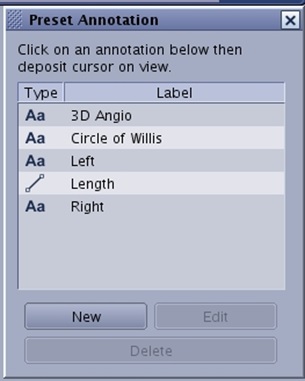
From the Measure/Annotate Toolbar, click the Annotate Preset icon () to display the Preset Annotation screen.
Figure 1. Preset Annotation screen
To create a new preset annotation, follow these steps.
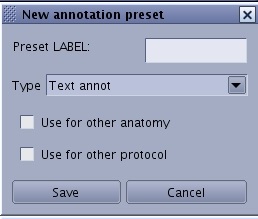
Click New to display the New annotation preset screen.
Figure 2. New annotation preset screen
Type text in the Preset LABEL field.
The text must contain a least 4 but no more than 30 characters.
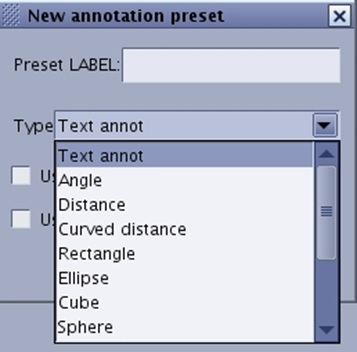
Select an option from the Type menu.
Your selection results in the Preset label text displayed next to the Angle, Distance, Ellipse, etc., after you deposit the Preset Annotation on a viewport. Figure 3. Type options
Click Use for other anatomy if you want the annotation available for other anatomies or Use for other protocol if you want the annotation available for other protocols.
Click Save to add the annotation to the preset annotation list.
To edit a preset annotation you created, follow these steps.
From the Preset Annotation screen, click the preset you want to edit.
Click Edit to display the Preset Annotation screen.
Modify the text in the Preset LABEL field.
Click Use for other anatomy if you want the annotation available for other anatomies, or click Use for other protocol if you want the annotation available for other protocols.
Click Update to save the edited annotation.
To delete a preset annotation, follow these steps.
From the Preset Annotation screen, click the preset you want to edit.
Click Delete.
To close the Preset Annotation screen, click the X in the upper right corner.


 ) to display the Preset Annotation screen.