About this task
The ConnectPro MR application allows you to download a modality worklist to your MR system. The MR system must be configured to obtain data from the HIS/ RIS system and to map protocols to action items. The actual configuration must be done by a service engineer with the assistance of the facility’s Information Technology department. Through the HIS/RIS and SCP tabs on the Guided Install panel, the server and port setup and the SCP (charge codes used by the scanning facility when billing insurance) can be established.Step-by-step instructions
- Open the MR Service Desktop (Guided Install).
- From the Guided Install list of applications, click HIS/RIS DICOM.
- Click Start.
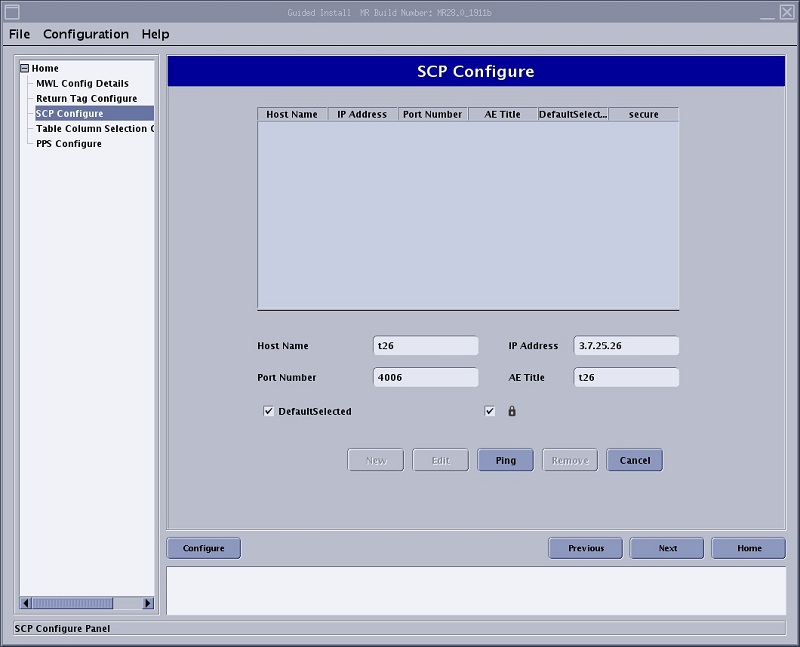
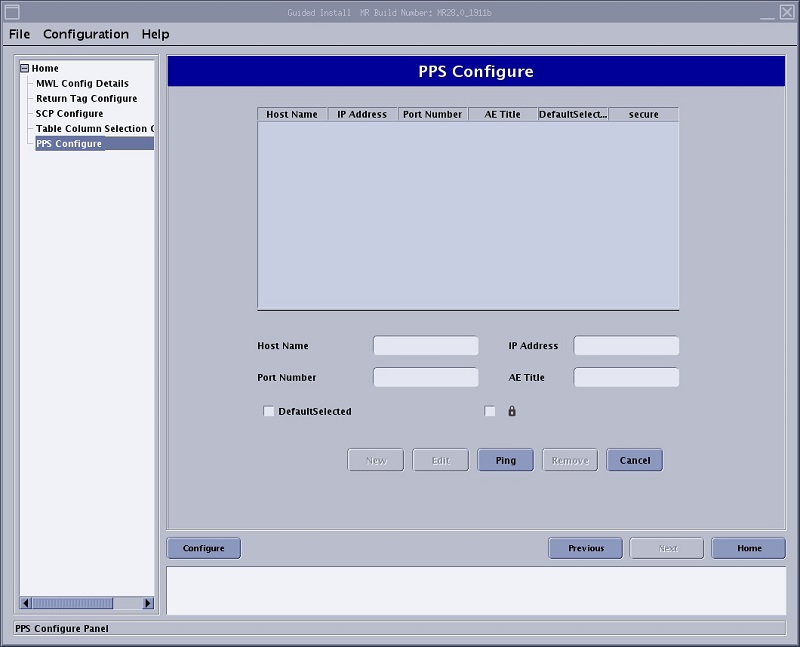
- Select SCP Configure or PPS Configure from the left side of the Guided Install window to check if the system is configured with HIS/RIS.
- Select any of the other options from the left side of the Guided Install window and make adjustments as needed.
- When all work is completed on the Guided Install screen, click Configure and respond to any prompts.
- To exit Guided Install, from the Guided Install menu bar, click .
- Click Yes.
- Reboot the system to activate your changes.