

- 00000018WIA30251870GYZ
- id_400215481.3
- May 16, 2022 2:56:16 AM
Data Selector procedures
About this task
The Data Selector tab displays above several applications such as READY View , Volume Viewer, Add/Subtract, etc. It allows you to view other exams, series or images for the current application without having to close the application, select another study, series, or image from the Patient List and then re-open the application.
The following steps are detailed in this topic:
- Launch an application
- Expand or contract the menu bar selections
- Sort Data Selector fields
- Change the size of the Data Apps work area
- Close a Data Apps tab
Step-by-step instructions
- Use these steps to select a study, series or image and launch an application.
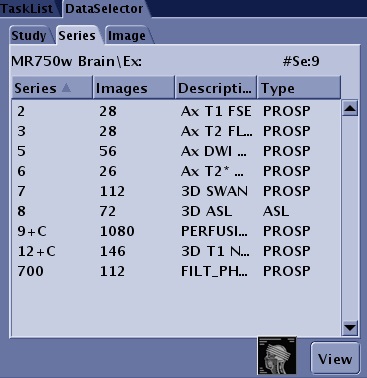
Figure 2. Data Selector 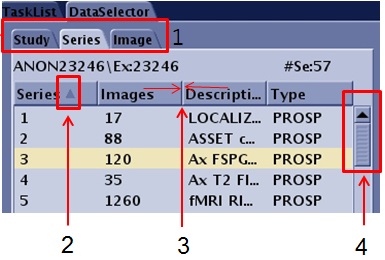
- Click the appropriate tab (1) to select the study, series, or image.
- Click and drag the scroll bar (4) to view all items in a tab.
- Launch an application from the Session Apps list such as ClariView, MRA, Reformat, READY View , etc. Once the application is launched, when you select a different series or image from the Data Selector and click View, the new image is not displayed in the application. You must select the series and image from the Patient List and then launch the application from the Session Apps list.
- Use these steps to change the size of the Data Apps work area.
Figure 3. Data Apps work area 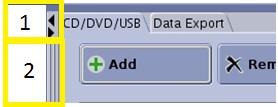
- Click the Expand/Contract arrows (1) to expand and/or contract the Data Apps work area to view more of the Patient List. When the Data Apps area is contracted, the Auto View/Waveform/Protocol Notes area is no longer visible.
- Click and drag the edge of the Data Apps work area (2) to customize the size of the work area. There is a narrow range to the size change and it results in a smaller screen area available for the Patient List.
- If you inadvertently minimize one of these Data Applications: CD/DVD/USB, or Data Export, click on a different Data Application (CD/DVD/USB, or Data Export) to relaunch the minimized application.
- Click Close or Quit from the application's user interface to close a Data Apps tab.
- Multiple Data Apps can be opened and therefore you need to close each application, which is on a separate tab.
Figure 4. Data Apps list and Data Apps workarea 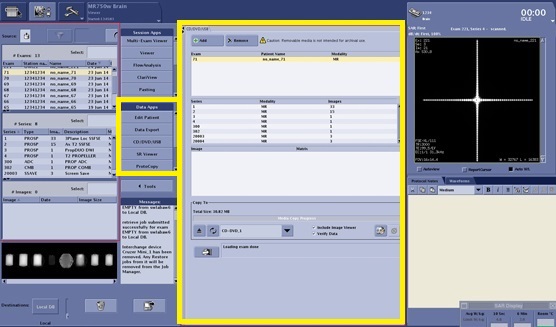
- Multiple Data Apps can be opened and therefore you need to close each application, which is on a separate tab.