

- 00000018WIA301BC970GYZ
- id_400264291.3
- Mar 25, 2022 4:11:04 PM
Add/Subtract images
About this task
The Add/Subtract application allows you to execute the following functions from the Add/Subtract screen:
- Bind two series into a single series. This is useful for viewing pre- and post-contrast or T1 and T2 contrast series in a single series. The new series appears as a COMB series in the Patient List.
- Add or subtract two series. This is useful for MRA exams. The new series appears as a PROC series in the Patient List.
- Extract the minimum or maximum pixels from one or two sets of images. The new series appears as a PROC series in the Patient List.
| CAUTION | |
|---|---|
Step-by-step instructions
- From the header area of the screen, click the
 to open the Image Management work area.
 - From the Session Apps list, click Add/Sub.
Figure 1. Session Apps list 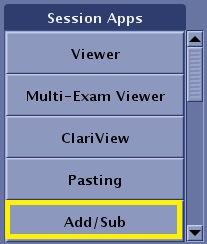
- The Add/Subtract screen opens.
Figure 2. Add/Subtract screen 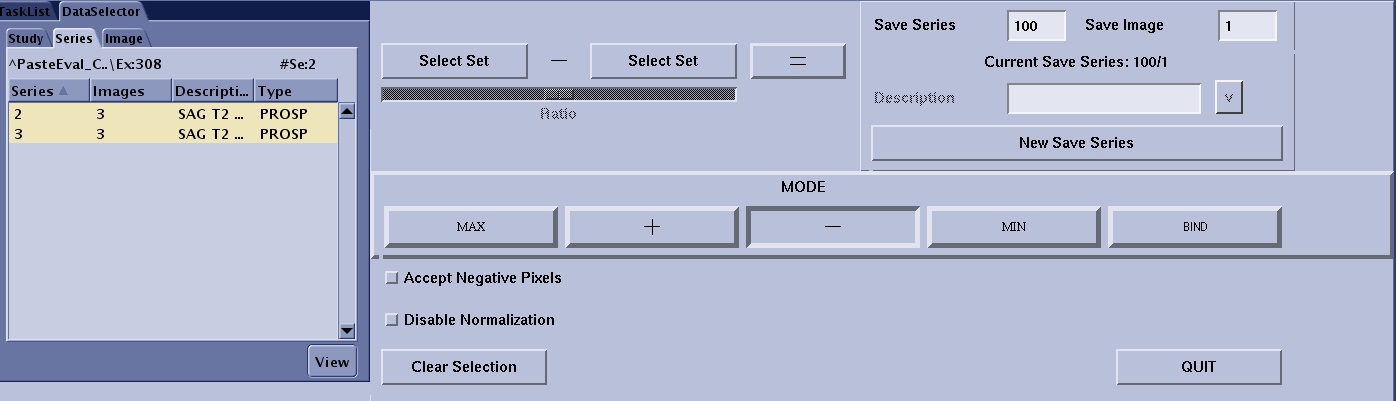
- The Add/Subtract screen opens.
- Click New Save Series.
Figure 3. Current and New Save series 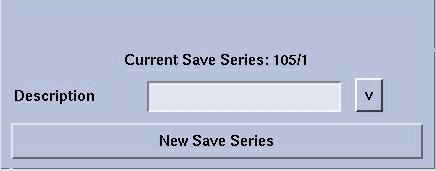
- This action places images resulting from subsequent operations into a new series in the Patient List. If you do not select this option, the images are saved in the current saved series.
- Current Save Series: Displays the currents series and starting image number of the saved series. By default, images resulting from subsequent operations are added onto the end of the same series unless you click New Save Series.
- Select desired Mode buttons.
Figure 4. Mode buttons 
- Click Max to create a new series that finds the highest corresponding signal intensity values in the selected set or sets of images.
- Click + (plus) to create a new series that adds the image intensity values of the selected image sets.
- Click - (minus) to create a new series that subtracts the image intensity values of the selected image sets. For subtraction, click Accept Negative Pixels.
- Subtracted images are scaled and do not represent a true pixel-by-pixel subtraction. They should not be used for quantitative measurements.
- Click Min to create a new series that finds the lowest corresponding signal intensity values in the selected set or sets of images.
- Click Bind to create a new series that consists of copies of the selected images from one or more existing series.
- Bind is the only Add/Subtract option that allows you to add a series description.