Use these steps to paste images together that were acquired within different series, at different table locations and at different times. It produces a single image of full resolution.
Pasting applications include spine, peripheral vascular and whole body oncology screening.
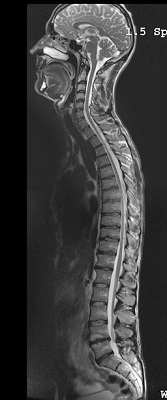
Figure 1. Spine pasted image from two locations
Warning
MR Pasting provides the physician with additional information, meant to complement diagnosis based on classical techniques. It should NOT be used on its own for diagnosis or treatment.
Warning
MR Pasting 1.1 has been designed and validated for MR images only. MR images to be used with MR Pasting 1.1 must meet the following requirements:
Image must be of the same type (regular anatomy/subtracted/MIP).
Images must have the same exam ID, that is they should come from the same exam.
Pixel size must be identical for all images.
Warning
Success of MR Pasting 1.1 post-processing is critically dependent on the quality of the input images. Artifacts may be generated when wrong acquisition parameters are used. It is your responsibility to:
First, determine whether the quality of pasted images is acceptable for the purpose of the analysis.
Second, to visually assess all pasted images before saving them.
Warning
Do not use Pasting post process application with images that demonstrate metal implants.
CAUTION
Post processing results may be affected by the presence of MR Conditional implants. Consider the following related to post-processing MAVRIC SL images on your MR, PACS or AW systems: If an image includes susceptibility artifact, such as from MR Conditional metal implants, measurements made on the image may be incorrect due to distortion of actual physical locations.
There are several limitations when pasting input stations acquired with an angle (oblique images):
Pasted images that are produced from original datasets initially acquired as oblique do not display patient orientation annotation.
Pasted images are saved as secondary captures (SCPT), DICOM RAS coordinates are not saved in such datasets and it is not possible to measure lengths or angles on such datasets.
To paste input stations, the application looks at the distance between the bottom of one station to the top of the next station.
Only single-oblique images are supported. As a result, when the original dataset is initially acquired as oblique, MIP projections obtained with a rotation cannot be pasted.
Images that have an oblique or tilt angle between 0.1 degree and 30 degrees load into MR Pasting with the following message:
Pasting 1.1 will reject images with Tilt Angle greater than 30 degrees.
When loading oblique images, some pages may present blank input station slots.
To sort the loaded images, the application looks at the distance between the bottom of one station to the top of the next station.
If the match does not correspond to reality, you can select one image from a first series and start Pasting. Then, select the corresponding image from a second series and click Update Selection. Repeat these last two steps if more than two input stations are present.
From the header area of the screen, click the to open the Image Management work area.
From the Patient list, simultaneously Ctrl and select the series you want to paste. The series must meet the following criteria:
Acquire the series as a sagittal or coronal; an oblique data set will degrade the accuracy of the pasted series.
When using series for Pasting always overlap the two series FOV in the original acquisition by at least 15%.
Images cannot overlap more than 50%. If the overlap is less than 15%, the Fine Registration algorithm does not apply and a prompt appears.
Image types such as RFMT, PJN, etc. can be selected. Pasted, secondary capture (SCPT) and color images cannot be selected. You can also use images generated in Volume Viewer Batch/Movie.
All images with a station must belong to the same series. Slice thickness, slice spacing, matrix size, and pixel spacing must be constant within a station. All images and stations must be the same type (RFMT, PJN, MIP, etc., and single image, multi-slices or rotation). Note that when you select images within a series, some acquisition sequences or post processing tools (Volume Viewer, Batch/Movie) generate an initial reference image in the series and this reference image is a different image type. De-select this image from the series.
Images must share a unique frame of reference, that is, the same system of X, Y, and Z coordinates.
The exam landmark must be the same for all stations.
Images must have the same orientation. Pasting images with different orientations is not possible, for example pasting a sagittal and coronal images.
If stations contain one image only, for example MIP images, there is no check on the image coordinates.
Input images having "ISO_IR 100" or "ISO_IR 6" encodings are only accepted.
From the Session Apps list, click Pasting. Figure 2. Session Apps list
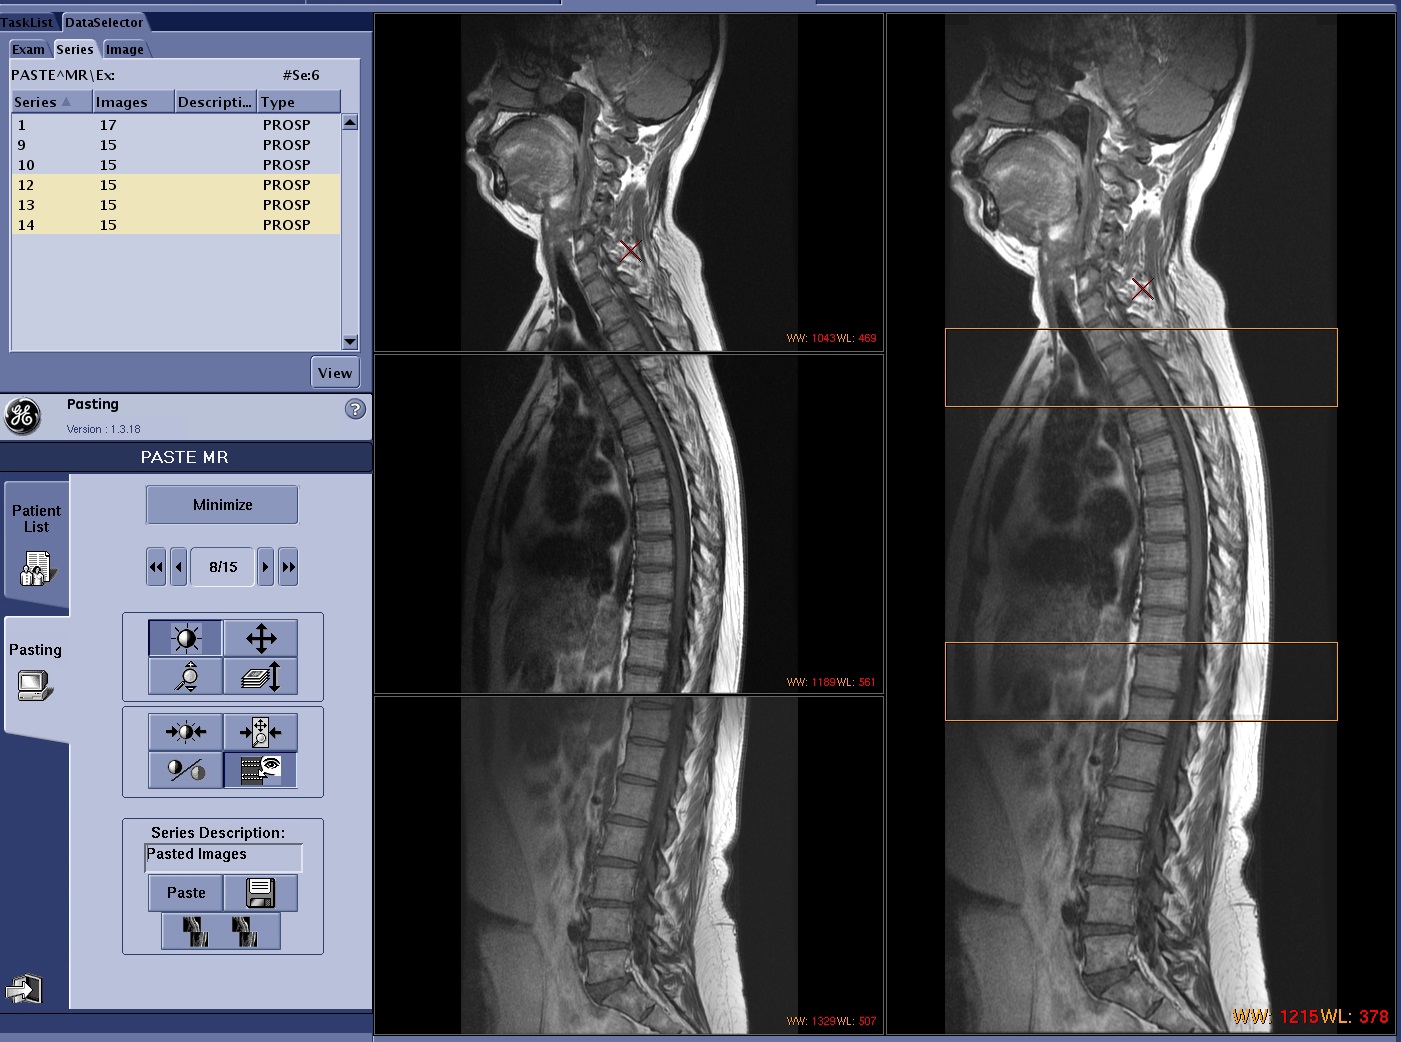
A Pasting session tab opens. The number of viewports in the paste session is dependent on the number of series selected. Figure 3. Pasting session with 2 series selected. The image on the right is the pasted image.
If the overlap is less than 15% a warning message displays when pasting is launched.
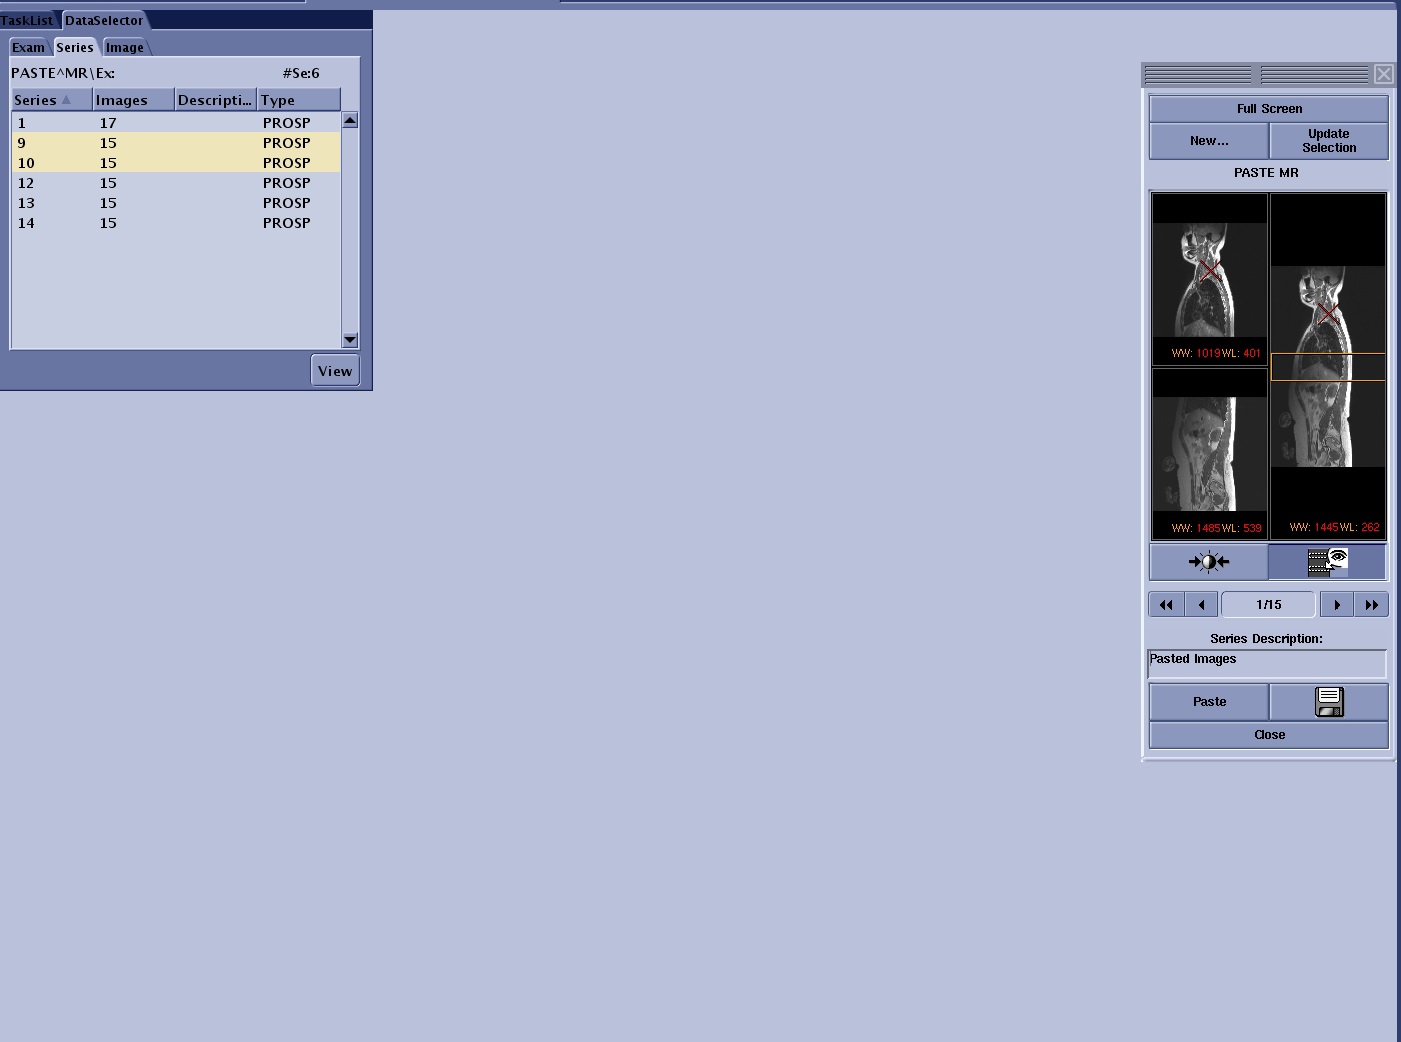
Optional: click Minimize to minimize the Paste window on the tab. Click Full Screen to restore the paste window to the full tab real estate. Figure 4. Minimized image area
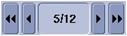
Click the to navigate through the images within the series. All viewports update with each click.
The double arrow key pointing to the left displays the first image.
The single arrow key pointing to the left displays the previous image.
The single arrow key pointing to the right displays the next image.
The double arrow key pointing to the right displays the last image.
Manipulate the image as needed.
Place the cursor in the Series Description text box and enter a series name. Figure 5. An example of text entered Series Description box
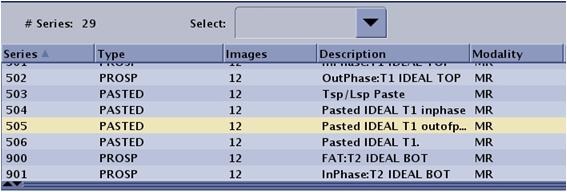
The series is labeled as a PASTED image type.
The series number is 100 x the series number of the first series selected for pasting. For example, if the exam has 6 series and you pasted series 5 and 6, the paste series will be 500. Figure 6. Note Pasted series label and the Pasted series number
Click to create a new paste series in the Patient List. Saving images allows you to view and film pasted images from the Viewer.
Click to close the paste session.
Follow these steps to select new series to paste.
From the Pasting control panel, click .
The Pasting window minimizes so that you can select new series or exam from the Patient List. More than one exam appears only if there are more than one exam for the currently selected patient.
Select the desired series from the Patient List and make a selection.
Click New to discard the current series and replace it with the selected series. For example, you pasted the vascular images from the left leg and now you want to paste the images from the right leg.
If your currently active paste session has not been saved, it will be overwritten.
Click Update Selection to add the new selected series to the currently active pasting session. For example, you acquired 3 series of the spine, pasted 2 series, and now you want to add the last series.
Click Full Screen to restore the Pasting window to the full session work area.


 to open the Image Management work area.
 to navigate through the images within the series. All viewports update with each click.
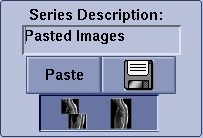
 to create a new paste series in the Patient List. Saving images allows you to view and film pasted images from the Viewer.
 to close the paste session.
 .
.