

- 00000018WIA3052C970GYZ
- id_400264261.4
- Jun 27, 2022 4:18:51 PM
Data Export: Compose report
About this task
The JPEG, PNG, AVI, MPEG, or MOV images can be viewed from a PC or laptop.
Use the following steps to create a report that can be exported to view on a PC or laptop.
Step-by-step instructions
- From the header area of the screen, click the
 to open the Image Management work area.
 - From the Data Apps List, click Data Export.
Figure 1. Data Apps list 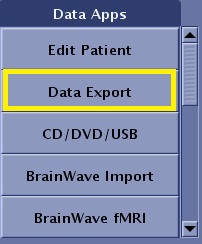
- If the Compose tab is not active, select it.
Figure 2. Compose tab 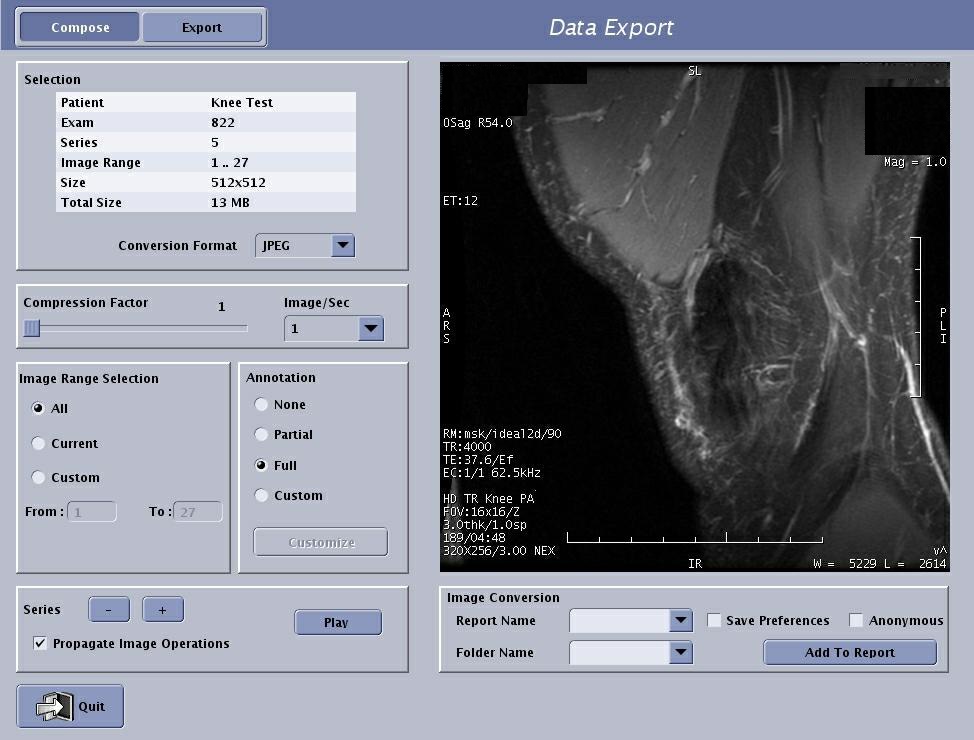
- Click the Conversion Format menu and select an image format for the currently selected data set that is compatible with the movie player on your PC or laptop.
Figure 3. Conversion Format 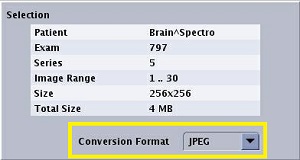
Format choices include: JPEG, PNG, AVI, MPEG, and MOV. AVI, MPEG, and MOV are all movie-type formats.
- In the Image Range Selection area, choose your desired image range.
Figure 4. Image Range Selection area 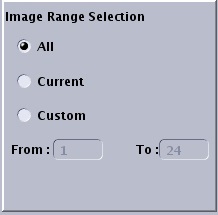
- For example, if you have a multi-phase series selected and all you want is the first phase in the MPEG, then select the range of images representing phase 1 of your data set.
- If you want a subset of the images, select Custom, and then type the range in the text box.
- The ability to select a subset of images from the selected series is particularly important if you plan to ftp the files rather than burn a CD.
- Move the Compression Factor slider to select a compression value for JPEG and MPEGs.
Figure 5. Compression Factor slider 
The smaller the number, the higher the image quality and the larger the file size.
- In the Annotation area, choose your desired annotation display format.
Figure 6. Annotation area 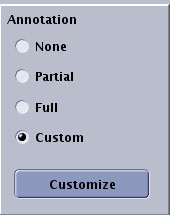
If you want the patient name to be displayed as Anonymous with the exam number, select Anonymous.
- Click Series + or - to navigate through series within the exam.
Figure 7. Series selection and Propagate Image and Play/Stop 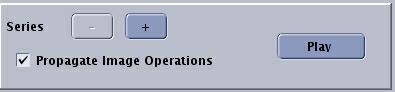
- In the Image Conversion area, complete the following.
Figure 8. Series selection and Propagate Image and Play/Stop 
- In the Report Name menu, select or type a name to display at the top of the report once you execute the data export.The name also appears in the Export Data list. Typically the patient’s name and type of file are entered as the Report Name. There can be no spaces or characters other than alpha numeric.
- In the Folder Name menu, select or type a name of the folder to which you want to file the Report Name.From the Export tab, you can view the data listed within each folder. The data within a folder is sorted by file type. For example, if you added 10 JPEGs from the T1 series and 20 JPEGs from the T2 series you will see a list of 30 JPEGs in that folder. If you want these JPEGs separated, you must place them in separate folders.
- Select Anonymous to have the patient’s name replaced with Anonymous and the exam number when the images are added to the report.
- Select Save Preferences to save the changes you made on the Data Export screen.
- Click Add to Report to add the current data set to the report from which you can either burn the information to a USB, CD-R or FTP it to an IP address. A data conversion progress window displays the status. Click Cancel if you want to stop the data conversion.
Figure 9. Data conversion progress window 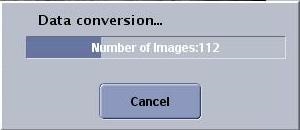
- In the Report Name menu, select or type a name to display at the top of the report once you execute the data export.