Use these steps if you want to print protocols or if you want to load a protocol onto your MR system. Use a CD, DVD, or USB device to export the images.
Protocol Exchange is only allowed between systems of a similar hardware configuration. For details, see Import pre-requisite.
Important: Before you export a protocol, check the task notes and check that there is no patient identifiable information on any protocol notes images.
Step-by-step instructions
Insert the media (CD-R, DVD-R, or USB) into the computer.
The CD or DVD must be CD-R or DVD-R and not Read/Write. Place it in the read/write CD/DVD drive.
You cannot append protocols to a CD or DVD that already contains data from another session. You can append protocols to existing data on a USB device.
Not all USB devices are compatible. If a "Media not valid" message is posted after step 7, remove the USB device and insert a different USB device manufacturer. Some USB devices may require the device to be formatted. If that is the case, be sure to transfer all data off the device before formatting it. Formatting a USB device erases all data on the device.
Open Protocol Exchange.
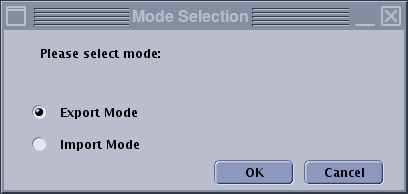
From the Mode Selection screen, click Export Mode and click OK to transfer protocols to a storage device.
Figure 1. Mode Selection screen
From the Protocol Source side of the Protocol Exchange screen, click the + sign next to Site or GE to expand the list of protocols.
GE protocols can be exported to a save media, but they cannot be imported from the device to a scanner.
To view all the protocols associated with a body part, click on the + sign next to the name.
Find the protocol from the protocol source (left) side, click and drag it to the protocol selection (right) side of the screen.
You can transfer all the protocols in a directory by dragging on the directory name (i.e. head), or expand the display and select individual protocols. To transfer specific series within a protocol, drag the protocol to the protocol selection side of the screen, select the individual series you do not want to transfer, right-click, and select Delete. You may also delete at the directory or protocol level.
If the protocol you are exporting already exists, a prompt appears warning you that the protocol already exists. Click OK.
Click Preferences to add Site Information to the protocols, then click Save and Quit.
Protocols names cannot contain punctuation (i.e. periods, commas, and semicolons).
Click Refresh to obtain any changes made to the protocols since you first displayed the screen.
Click Export.
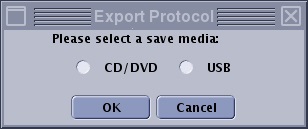
From the Export Protocol screen, select the media to be used and click OK.
Figure 2. Export Protocol screen
Once the transfer begins, the message bar along the bottom moves left to right indicating the progress.
Click Yes to the pdf prompt, if you want both pdf and html files exported to the media.
Note: If you click No to the prompt, then only the protocol .tar files are loaded to the media and therefore you cannot view the protocol on a PC.
After the message "Export protocol to system success" displays, click Quit and click Yes to the confirmation prompt.
Note: If you are using the DVD drive, it opens when the exchange is finished.
Remove the DVD, CD, or USB device from the computer.