- 00000018WIA301FC770GYZ
- id_400269431.3
- Aug 14, 2022 1:11:12 PM
Anatomical Region
Anatomical Regions determine the optimum algorithm for the PURE intensity correction and applicability of MAGiC scans.
The Anatomical Region selection appears in multiple locations.
Multiple tasks selected
When multiple tasks are selected, the anatomy of the top task in the list is shown in the field. Mixed displays if multiple anatomies are included in the selection.
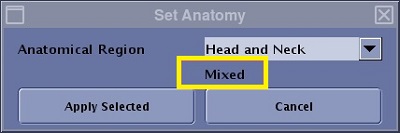
MultiStation or QuickSTEP tasks
- When a main task is selected, e.g. 3D Contrast, anatomy selection is propagated to the sub-tasks, e.g. 3D Contrast TOP/MID/BOT). Hence, if multiple anatomies are set to the sub-tasks, Mixed displays on the Set Anatomy screen. If a single anatomy is selected, Mixed does not display.
- When only a sub-task is selected, anatomy selection is applied to the selected sub-task.
- When any task is selected, main or sub-tasks, if it is in Done/SCND/ACT/PSCD state, the dialog is grayed-out or unavailable.
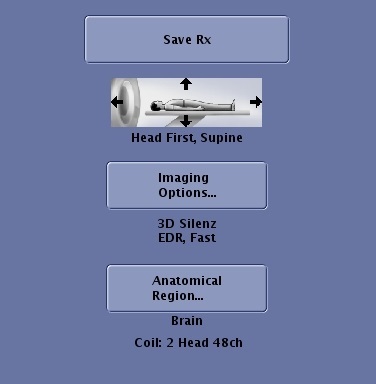
Scan control panel
- Anatomical Region is shown on the Series Summary panel.
- If the Anatomical Region has not yet been selected, an orange message, "Not Selected" is posted under the Anatomical Region button.
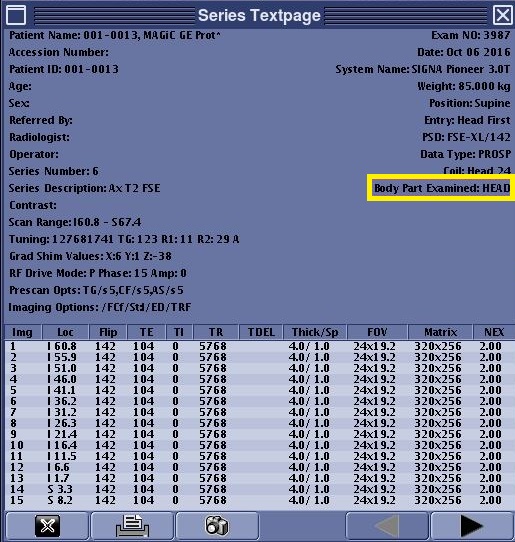
Text Series page
From the Viewer control panel, click the Film/Save tab. Click the  to view the body part examined.
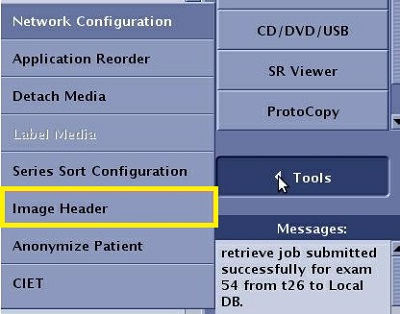
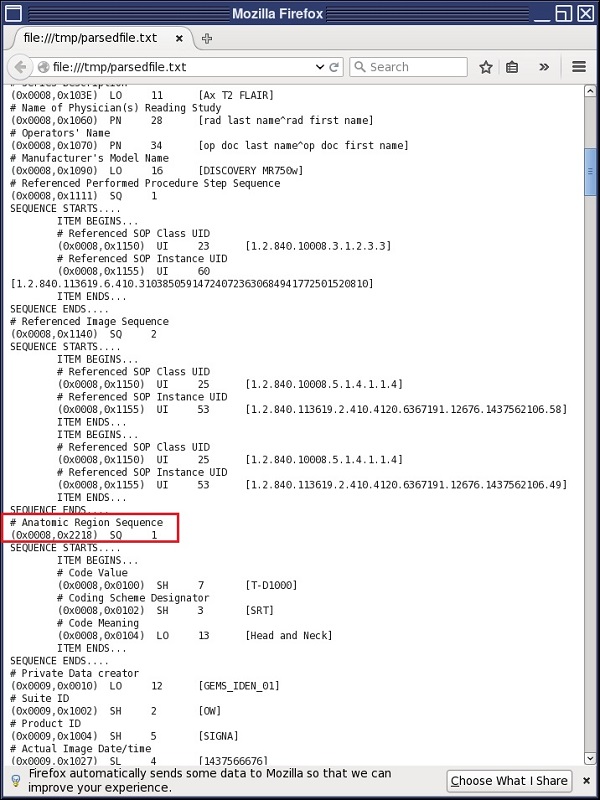
DICOM header
Click the  to open the Image Management work area. From the right side of the screen, click to view the anatomic region from the DICOM information.