

- 00000018WIA30D6A970GYZ
- id_400217841.2
- Mar 9, 2022 6:38:02 PM
Use Split layout to add a customized view
About this task
Use these steps to add a customized view to the list of available Review steps.
Step-by-step instructions
- From the top right-hand area of the screen, click the
 . to view the menu.
Figure 1. Layout and Review menu 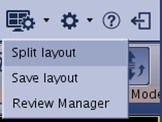
- Click Split Layout to view the Split Layout screen.
Figure 2. Split Layout screen 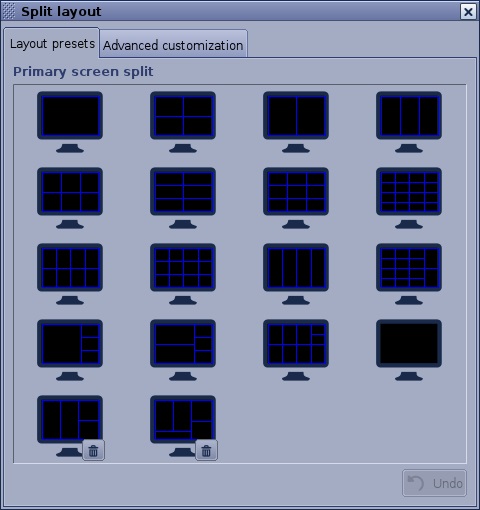
- From the Split Layout screen, select the desired format that you want to add to the Review Steps list.
- Click Undo to go back to the previous layout.
- Click
 to permanently delete a layout. GE layouts cannot be deleted.
 - Click Force Square layout option to ensure that the layout only has square viewports.
- Optional: Click Advanced customization to view the options for customizing your display.
Figure 3. Advanced customization tab 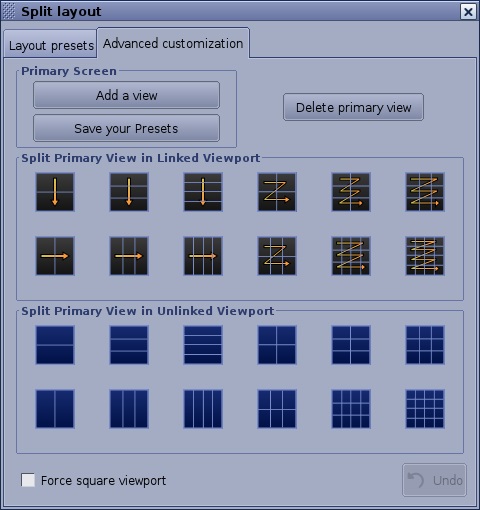
- Click Split Primary View in Linked Viewport or Split Primary View in Unlinked Viewport to split the active view into several viewports linked or unlinked by clicking on the desired button.
- Split into linked viewports displays consecutive views between which you can adjust the
 .
. - Repeat this step to continue to customize the active viewport. Note a message appears if the resulting views will be too small.
- You cannot split a linked view.
- Respond to all messages that appear.
- Split into linked viewports displays consecutive views between which you can adjust the
- Click Add a view to add a viewport to the screen.
- Click Delete primary view to suppress the selected view.
- Resize and move the viewport: Move the mouse to a viewport to display the
 .
.- Left-click on one side of the arrow and move the pointer to resized the viewport.
- Click and drag the central arrow and move the viewport to the desired location on the screen. Do not create overlapping views.
- Once the viewport is resized, adjust the active annotation parameters.
- Click Save your Presets.
- Click the X in the upper right corner to close the Split Layout screen.
- Click Split Primary View in Linked Viewport or Split Primary View in Unlinked Viewport to split the active view into several viewports linked or unlinked by clicking on the desired button.
- To save the Protocol or Review step, follow these steps.
- From the top right-hand area of the screen, click the .
- Click Save layout. to view the Save Protocol or Review Step screen.
Figure 4. Save Protocol or Review Step screen 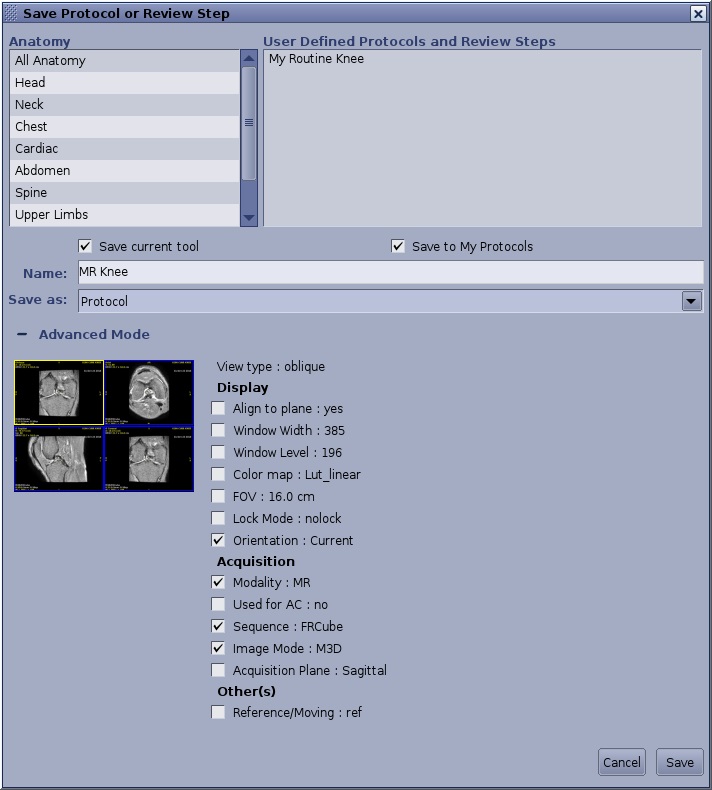
- From the Save Protocol or Review Step screen complete the following.
- Enter a name in the text box or click an option from the User Define list and then overwrite it with a new name.
- Select and Anatomy area to which you want to save the protocol /review step.
- Select an option from the Save as menu: Protocol or Review Step.
- Click Save current tool option button to save the currently opened tool.
- Click Save to My Protocols option button to make the new protocol available from the protocol page.
- Click Advanced Mode. if you want to fine tune the protocol with specific parameters.
- Click Save to execute the following:
- Save your selections.
- Close the Save Protocol or Review Steps screen.
- Add the new Review Step to the Review Step list.
- Optional: click Cancel to close Save Protocol or Review Step screen without saving your selections.
Note: To deleted a protocol, see Delete a Protocol or Review Step procedure.
- From the top right-hand area of the screen, click the