

- 00000018WIA30B7C970GYZ
- id_400232311.2
- Jan 31, 2022 3:41:55 PM
Configure a printer
About this task
Considerations
The camera selected from the export toolbar in the Volume Viewer is not changed when the camera configured in the Film Composer is changed. The system is designed so that you can send your films to different cameras in your department. If you want all MR films to be sent to the same camera, you must have identical camera selections from both the Film Composer Configuration screen and the Film/Save Options screen.
Use these steps to add a printer to your film composer.
Step-by-step instructions
- Click Configure to open the Remote printer configuration screen with the current default printer displayed.
Figure 1. Remote printer configuration screen 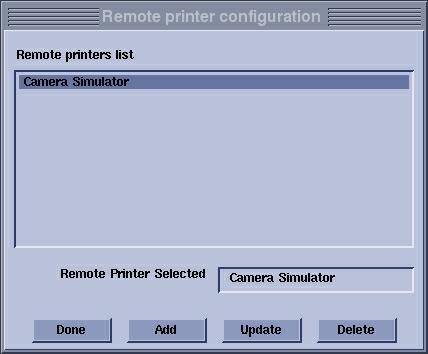
- From the Type of Laser Camera screen, select a printer.
Figure 2. Type of Laser Camera screen 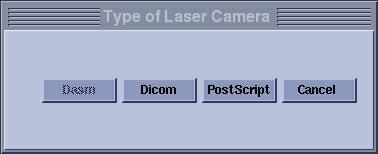
- Your choices depend on the printers you have at your site.
- If you have more than one type of camera, a Camera Configuration list displays if DICOM is selected.
Figure 3. Camera Configuration Dialog (DICOM) screen 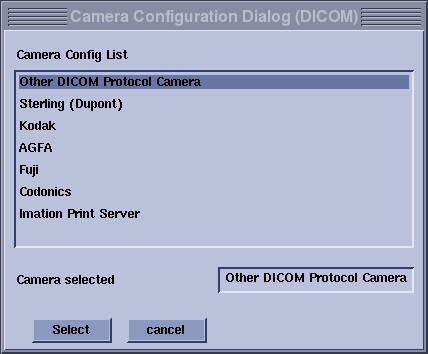
- From the DICOM printer configuration parameters screen, choose parameters based on your site requirements.
Figure 4. DICOM printer configuration parameters screen 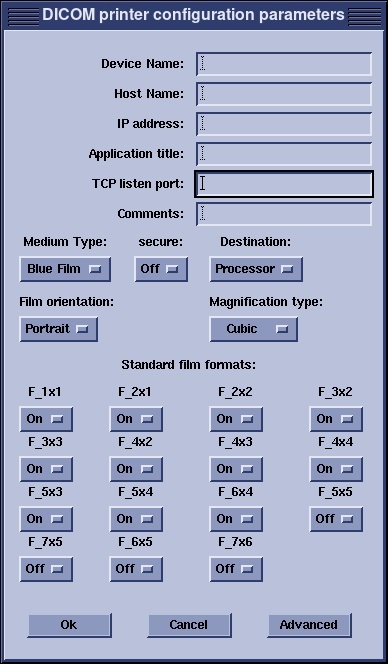
- Not all selections are available on PS printer configuration.
- Camera options:
- Set the Medium Type, Destination, Film Orientation, and Magnification type based on your site's camera setup.
- Secure: turn it on to lock your DICOM printer from being accessed by other remote host MR systems.
- Standard film formats:
- Select On or Off for each format type to choose the available standard film formats.
- Advanced:
- Click Advanced to display the Camera Attribute Dialog screen. Set these choices based on your sites needs and camera configuration.
Figure 5. Camera Attribute Dialog screen 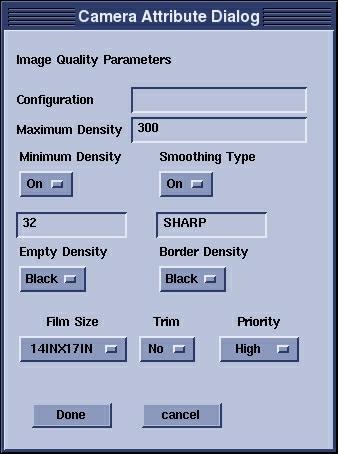
- Click Advanced to display the Camera Attribute Dialog screen. Set these choices based on your sites needs and camera configuration.