

- 00000018WIA302A7870GYZ
- id_400221951.6
- Jul 21, 2022 3:45:18 PM
System date and time
About this task
Step-by-step instructions
- From the Logon screen, click root login.This action logs you on as a Root User.
Figure 1. Logon screen 
- Enter the following information.
Figure 2. Root Username screen 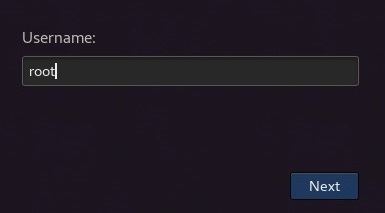
- In the Username field, type root .
- Click Next.
Figure 3. Password screen 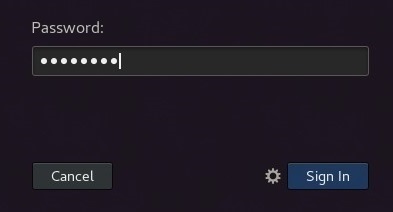
- In the Password field, type the password.
- If you don't know the password, check with your system administrator.
- Click Sign In.
- From the Guided Install Starter screen, click Yes to launch Guided Install.
Figure 4. Guided Install Starter screen 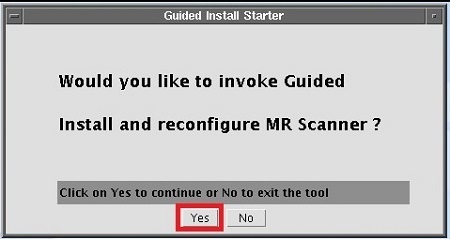
- From the Basic Configuration section on the Guided Install screen, click Set Time Date.
Figure 5. Guided Install screen 
Results
- If the scanner time drifts out of synchronization with the actual time, it is probable that the Network Time Protocol server was not configured to synchronize time with the MR scanner. Please consult with your service engineer to properly configure the Network Time Protocol server.
- If your MR system is configured with Network Time Protocol server, any date or time setting done in Guided Install will be overridden with the time supplied by the Network Time Protocol server.