- 00000018WIA30EFA980GYZ
- id_20356281.3
- Apr 13, 2022 4:00:11 PM
AIR xTM brain
Use these steps to acquire an AIR xTM brain scan.
About this task
- AIR xTM calculations may be compromised for patients with an artificial eye.
- The patient position must be supine.
Step-by-step instructions
- To view the Details screen, click the
 of the scan parameter screen.
 - From the Anatomical Reference menu on the Details tab, select an option:
- None
- ACPC
- Temporal Lobe
- IAC
- OML
- Orbits
- Optic Nerves
- Pituitary
- Circle of Willis
Figure 1. Anatomical Reference menu 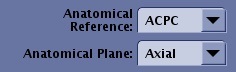
- From the Anatomical Plane menu on the Details tab, select an option. Note that the scan plane options are based on the selected Anatomical Reference.
- Axial
- Sagittal
- Sagittal Left (only appears if Optic Nerves is selected from Anatomical Reference menu)
- Sagittal Right (only appears if Optic Nerves is selected from Anatomical Reference menu)
- Coronal
Result
The AIR xTM computed results display in the Graphic Rx viewports as soon as the computation completes after the localizer scan.Figure 2. Example of a AIR x™ viewports with ACPC axial plane computed results 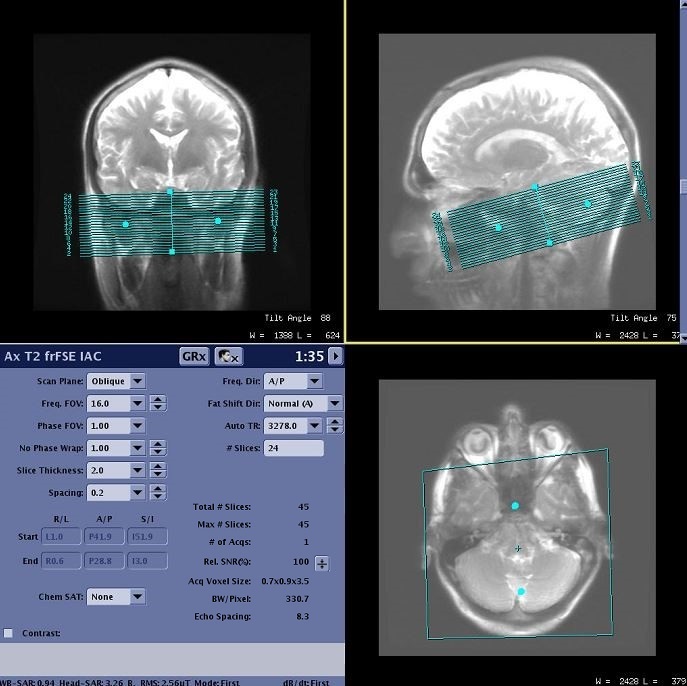
- Click Save Rx.
Result
The prescription gets propagated to the linked destination tasks, which get auto-saved if it was specified in the link creation.Figure 3. Tasks linked to task 2 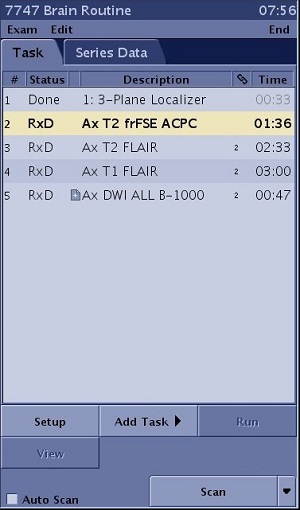
- Click Save Rx.
Figure 4. Tasks linked to subsequent AIR xTM scan