

- 00000018WIA30857870GYZ
- id_400253511.8
- May 9, 2022 9:25:04 AM
Download and install the full software package
Before you begin
- Locate your MR GE software upgrade USB media. It arrives in the software collector. The site network administrator or radiology department manager may have the MR GE software upgrade USB media.
- Do not use any other USB media to save the software downloads.
- Back up all images! A full software update will erase ALL images. Be sure to film and archive all images before starting this update.
- Schedule your full software downloads to occur at the end of your clinical imaging day. The system must be idle and powered on.
Important: It is very important to remove any save info (DVD) from the drive. If you don't remove the DVD the install will be corrupted.
Important: Post a note on scanner to not touch or reboot scanner while its installing the software.
Step-by-step instructions
- From the footer area of the screen, note the Remote Software icon (
 ).This icon displays when a new software update(s) is available to install and the MR system is up and operational.
Figure 1. Software download available icon 
- When a software download icon is present and the system is ready for the full software install, the person performing the software install must have the role as a GE software installer. Follow these steps to switch users and login with the correct privileges:
- From the header area of the screen, click the Tools icon.
- From the System Management work area, click the Service Desktop Manager tab.
- From the Service Desktop Manager, click Lock Screen Switch User.
Figure 2. Top area of Service Desktop Manager 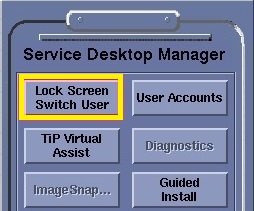
The Logon screen displays.
- From the footer area of the screen, click the
 .
. - Click Install Now (2).
Figure 3. Select the latest full software download 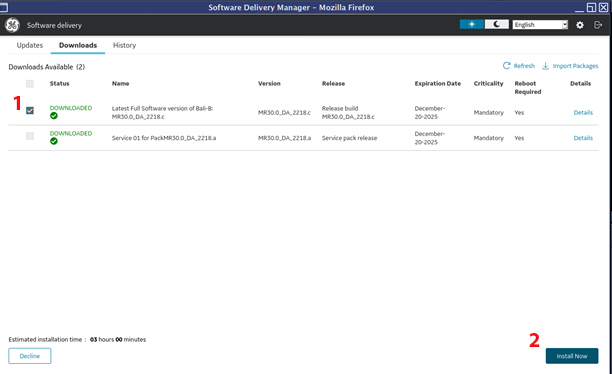
- In the confirmation window, select the checkbox, then click Proceed.
Figure 4. Confirmation window 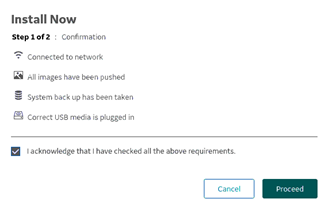
- Select the checkbox, then click Continue.
Figure 5. Progress window 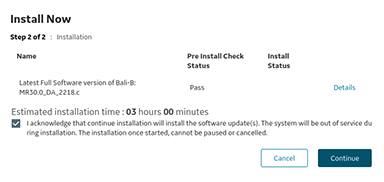
Result
The system displays a progress window. - When the system is ready to install the software, click OK.
Figure 6. Example of a splash screen showing installation progress 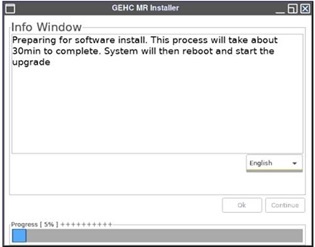
- When the installation is complete, confirm that the installed software is on the History tab.
Figure 7. History tab 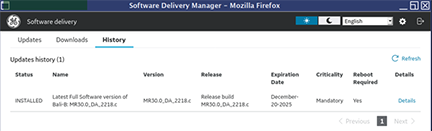
Result
- If the installation is successful, the system displays a success message.
- If the installation fails, the system displays an error message. Contact GE service.