- 00000018WIA305CC770GYZ
- id_400246961.6
- Aug 14, 2022 12:27:21 PM
Workflow manager and task list
The workflow manager is used to prescribe and control the scan and prescan processes. The workflow manager has three major areas:
| Screen area | |
|---|---|
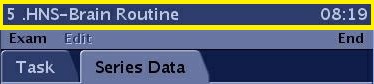
| Header | The following items are displayed in the Task header:
|
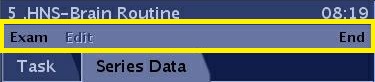
| Menu bar | The menu bar provides access to the Exam, Edit and End menu.
|
| Series Data tab |
 |
| Task tab |
 |
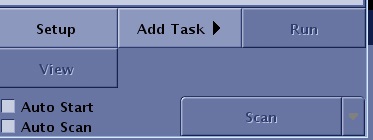
| Scan/Task control panel | For details regarding the Workflow Manager Task control buttons, see Scan/Task controls panel
|
Menu bar
Click the Scan Session tab to view the Scan work area.
| Parameter | Description |
|---|---|
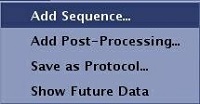
| Menu bar: Exam
| Exam allows you to:
|
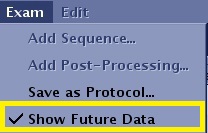
| Menu bar: Exam > Show Future Data
|
|
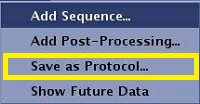
| Menu bar: Exam > Save as Protocol...
| For details, see Save exam as a protocol. |
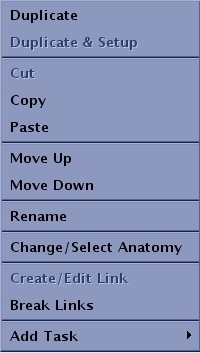
| Menu bar: Click Edit or right-click within the Workflow Manager Task tab to view the Edit menu.
| Cut, Copy, Paste, Duplicate allow you to cut, copy, paste or duplicate the selected task in the workflow manager. Move up, Move down allow you to move the selected task up or down the task list in the workflow manager. Rename allows you to edit the name of the selected task in the workflow manager. Change/Select Anatomy allows you to change or select an anatomical region for tasks in the Task List. The Anatomical Region determines the optimum algorithm for the PURE intensity correction and applicability of MAGiC scans.Create/Edit link allows you to create or edit an existing link between series in the workflow manager. Add task allows you to add a scan sequence or a post-process task. |
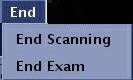
| Menu bar: End
| End menu selections allows you to end the exam or scanning session. For details, see End a scan session. |
Series Data tab
Click the Scan Session tab to view the Scan work area. From the workflow manager, click the Series Data tab.
| Parameter | Description |
|---|---|
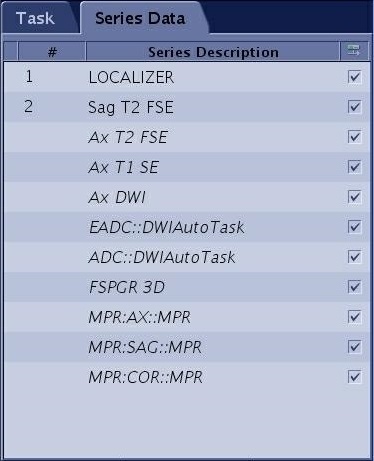
| Number column
| When a number precedes the series, it indicates that the scan data is acquired. |
| Series Description column
| Series displayed in italics indicate that the scan data has not been acquired. This information only appears if you select from the Workflow Manager menu bar. |
| Auto Transfer column
| The check box selection state in the auto transfer column is determined by how you set auto transfer in the protocol. If the exam is not pulled from a protocol, the default state for all boxes is selected, which means that the series will be transferred by exam or series as determined from the preference screens. For details, see:
|


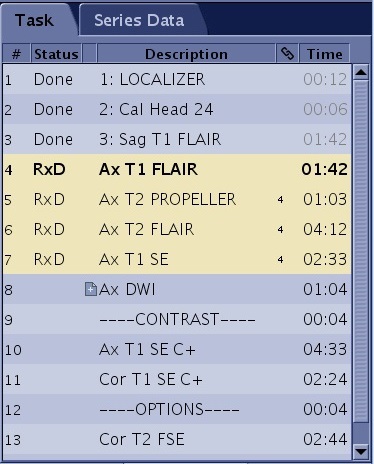
Task tab
Click the Scan Session tab to view the Scan work area. From the workflow manager, click the Task tab.
| Parameter | Description |
|---|---|
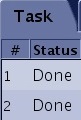
| Task Status column for scan tasks
|
|
| Task Status column for post process tasks
|
|
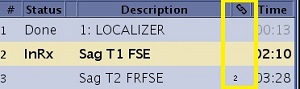
| Link Column
| Link allows you to link or share parameters between two different tasks. |
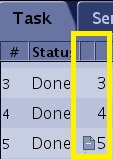
| Task sub-task column
| This column displays a workflow tree that can be opened or collapsed to see subtasks under the top level series task. 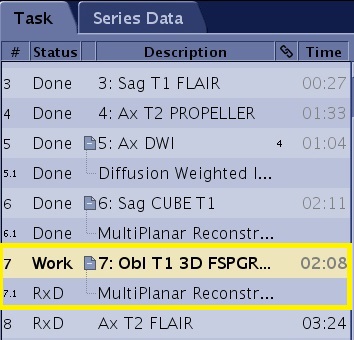 |
| Task Time column
| Once a series is in the InRx or RxD state, the scan time displays in the Time column. The time is removed once the series has been scanned. |