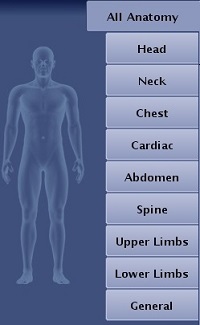
Click one anatomy tab to access the most relevant protocols for that anatomical region.
Click All Anatomy to display protocols for all anatomical regions.
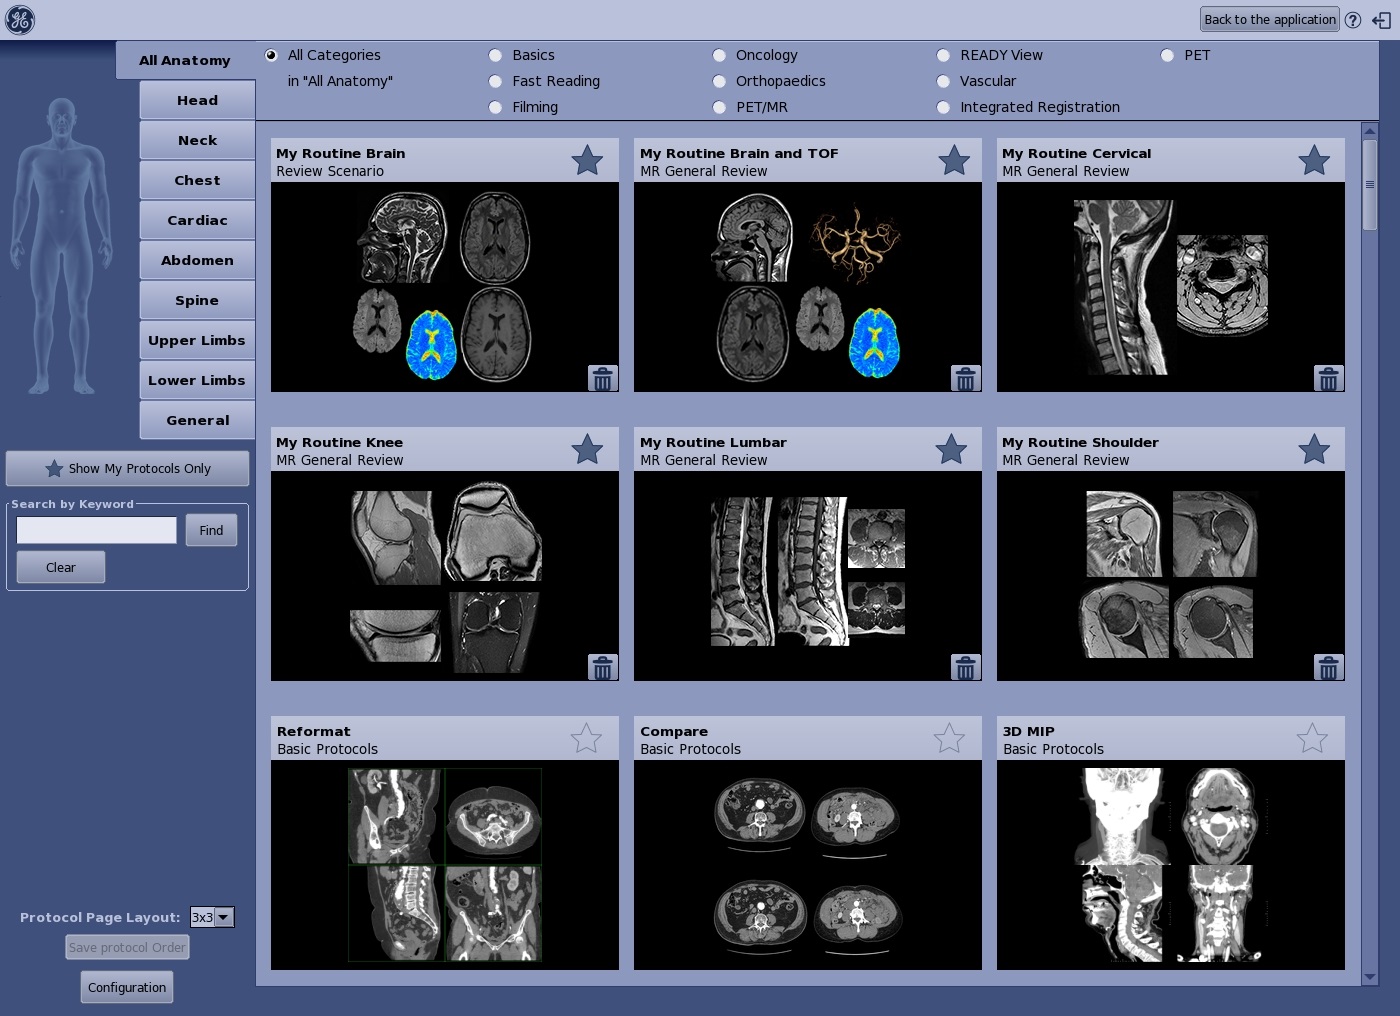
Figure 3. Category filters changes based on your system
Category filter area
Click a filter option to display the protocols by:
Care area: Cardiac, Oncology, Orthopedics, and Vascular, etc.
Available Applications: READY View, Integrated Registration, etc.
Type: Basic, Fast Reading, Filming
Figure 4. Show My Protocols Only button
Show My Protocols Only/Show More Protocols
Click to display protocols based on the filters applied on the anatomical tab and the protocols that have been tagged as a favorite. It is a toggle button: Show My Protocols Only or Show More protocols.
Figure 5. Protocol search
Search by Keyword
Type a key word to search all protocols from all anatomy that contains keywords in their title, subtitle, or description.
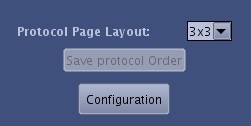
Figure 6. Protocol layout
Protocol Page Layout
Select an option from the menu to change the layout of the protocols displayed on the screen. This feature is useful when you have many protocols and you would like to see the maximum number displayed on the page without scrolling.
Customize the protocol order: drag and drop a protocol to the desired position and click Save Protocol Order.
Drag and drop does not work when All Anatomy is selected.
De-select the and then click and drag the protocol to a new location.
Click Configuration to load images in full resolution (default setting), otherwise images are loaded in 256X256 resolution.
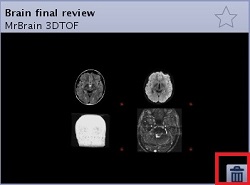
Figure 7. Delete or trash can icon
Delete a custom protocol
Click the Delete icon on a custom protocol to remove it from the Select an Application screen.
Figure 8. Protocol Exit icon
Protocol Exit
Click the Exit icon to close the MR General Review application and returns to the patient list.