

- 00000018WIA30B4C970GYZ
- id_400264971.6
- Jul 18, 2022 4:51:08 PM
View images on PC or laptop
About this task
Use these steps to view images from a CD/DVD/USB inserted in your PC or laptop. Note that in order to display the Media Viewer, you must select Include Image Viewer at the time you burn the data to a CD from the CD/DVD/USB program.
Step-by-step instructions
- Load a recorded CD-R or DVD-R into the drive of your PC or laptop running Windows XP, Windows Vista or Windows 7 or 10 operating system and containing java 1.7 or higher versions. If the Media Viewer doesn't automatically launch or if you have Windows 8 or 10, navigate to your CD/DVD drive and click the CDVIEWER.EXE file to launch the Media Viewer application. Apple products are not supported.
Figure 3. Files on CD/DVD Media Viewer 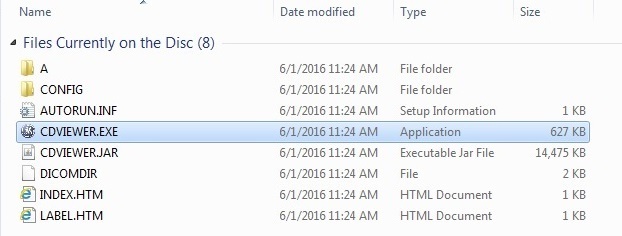
The CD Viewer automatically launches. If it does not launch, navigate to your CD drive and open the file.
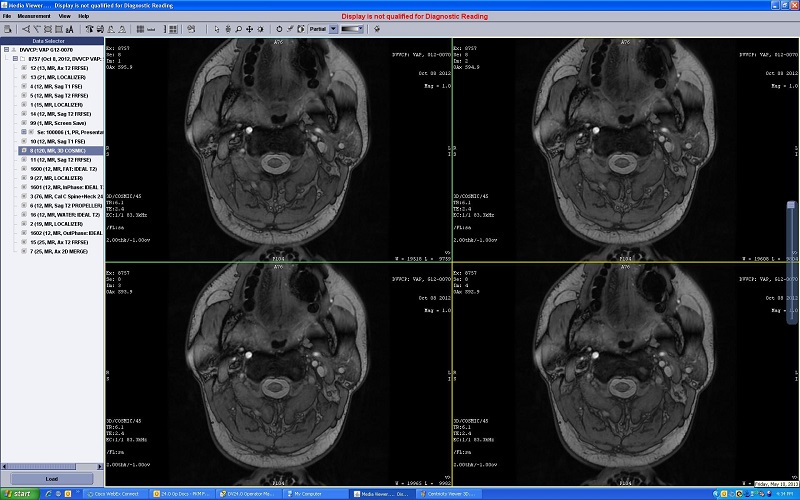
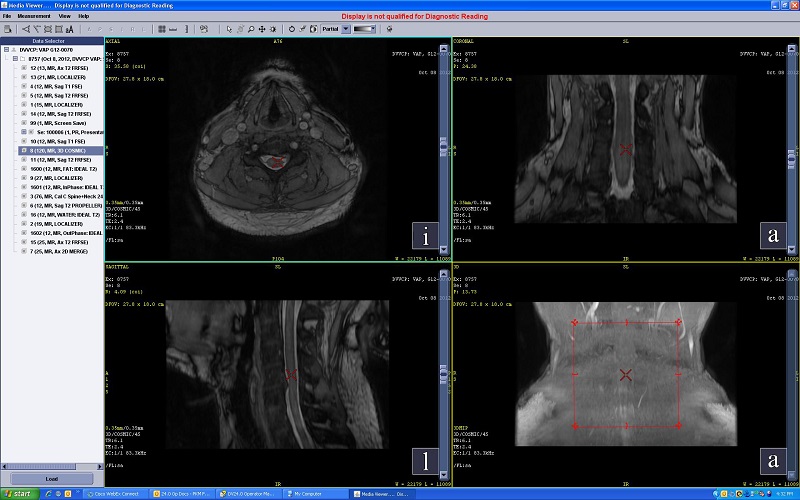
- Use the image manipulation icons located at the top of the media viewer, from the right-click menus or from File, Measurement or View menus located on the menu bar.
Table 1. The Media Viewer image controls Icon Description 
Hides/Show the DataSelector panel. 
Adds an angle ROI on selected viewport. 
Adds a line ROI on selected viewport. 
Adds an ellipse ROI on selected viewport. 
Adds a rectangle ROI on selected viewport. 
Adds user annotation on selected viewport. 
Changes the image orientation:A = anteriorP = posteriorS = superiorI = inferiorR = rightL = left 
Display normal removes the zoom, pan, rotate, flip and W/L adjustments. 
2D/3D icon switches images between 2 and reformatted view. 
Removes all the Graphic objects (RIO’s, User Annotation, Grid) from selected viewport. This item only appears on the right-click menu when graphic objects are displayed. 
From the right-click menu, Presets displays the same preset values that are defined from the Viewer. 
From the right-click menu, Filters displays Edge, Smooth and GSE selections from a menu. 
From the menu bar, click , which allows you to navigate to a location on your PC in which to save the currently selected image. 
From the menu bar, click , which allows you to navigate to a location on your PC in which to save the images in all the viewports. 
From the menu bar, click to toggle the toolbar on/off. 
Flips the image left to right on selected viewport. 
Flips the image top to bottom on selected viewport. 
Rotates the image anti-clockwise by 90 degrees on selected viewport. 
Rotates the image clock-wise by 90 degrees on selected viewport. 
Applies/Removes a grid on selected viewport. 
Applies/Removes a horizontal tick mark for all viewport(s). 
Applies/Removes a vertical tick mark for all viewport(s). 
Viewer format adjusts viewport format. 
Starts cine or movie. The cine or movie controls are the following:  Click the Play icon to start a cine loop of the images in the data set.
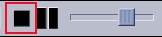 Click the Stop icon to stop a cine loop of the images in the data set.
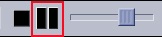 Click the Pause icon to pause the cine loop.
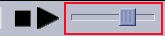 Click the Cine slider to control the speed of the movie.
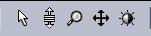
Image controls change the cursor function. - Click the
 to use the left mouse as a selection function and deactivate all other Image Controls.
 - Click the
 to use the left mouse to scroll through images within the current series. Click and drag up/down or right/left to advance to higher or lower image numbers. This is the default state of the cursor and the left and middle mouse buttons.
 - Click the
 to use the left mouse as a zoom function. Click and drag up to increase the zoom factor and click and drag down to decrease the zoom factor. The zoom factor is annotated in the upper right area of the image. The zoom is applied to the image in the active and forward viewports.
 - Click the
 to use the left mouse to scroll images. Click and drag the image in the active viewport to new location.
 - Click the
 to use the left mouse to window width and level images.

Inverts Grayscale for selected viewport. 
Annotation level menu: Full, Partial or None. Alternatively, from the menu bar, click View >  to toggle all image annotation on/off.
Displays a color map menu. 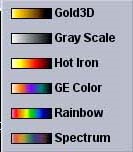

Displays keyboard keys used to navigate through the data set. 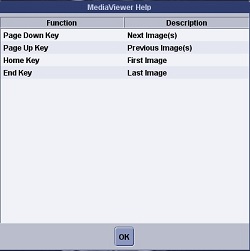
- Click the
- Click and drag the image slider to scroll through the data set. A movie must be paused or stopped to use the image slider.
Figure 4. Image slider 