Use these steps to restore images from a CD/DVD or USB device to your MR system.
Step-by-step instructions
Place a CD-R or DVD-R in the CD/DVD external drive or place a USB device into one of the USB drives. Wait until the drive light turns off, which is an indication that the CD-R or DVD-R is spinning up to speed.
From the header area of the screen, click the to open the Image Management work area.
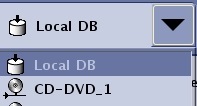
From the header area, click Source and select the drive that has the CD/DVD or USB device in it.
Figure 1. Source menu
From the Patient List, select the exam/series/images you want to restore.
Click an individual item.
Press Shift and simultaneously click the first and last item.
Press Ctrl and simultaneously click individual items.
In the Destinations area of the Patient List, click Local DB to begin the restore process.
Figure 2. Destinations area of Patient List screen
To view the restore process status, see the Network History tab.
When the restore process is finished, indicated by a message, eject the device.
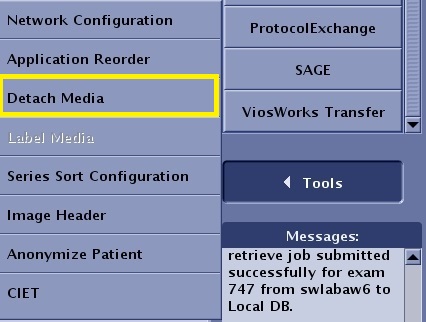
From the Image Management work area, click Tools > Detach Media.
Figure 3. Detach Media
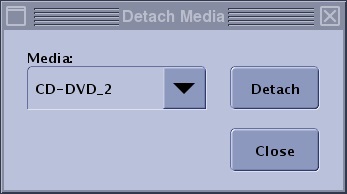
From the Detach Media screen, select the media to detach from the pull-down menu.
Figure 4. Detach Media screen
Click Detach and wait for the "Media Detached" message before ejecting the device from the drive.
Press the eject button on the DVD drive if a DVD is the media that needs to be detached.
Click Close to exit.
It is now safe to remove the USB device from the drive and to remove the CD/DVD from the drive.


 to open the Image Management work area.