

- 00000018WIA3037E770GYZ
- id_400263361.3
- Mar 25, 2022 3:46:21 PM
Configure host
Use these steps to configure, ping or delete an archive or network host or to manipulate the order of the archive or network hosts in the footer area of the screen.
Considerations: Additional Configure Network Host buttons.
- Click Clear to clear the settings for the currently selected node so that you can enter new values.
- Click Reset to reset the values to the previous settings.
- Click Edit to edit the currently selected node.
The following steps are detailed in this topic:
- Add a host
- Move a host on the list
- Adjust the column size
- Remove a node
- Ping a host
- From the header area of the screen, click the
 to open the Image Management work area.
 - From the Tools menu, click Network Configuration.
Figure 1. Tools menu 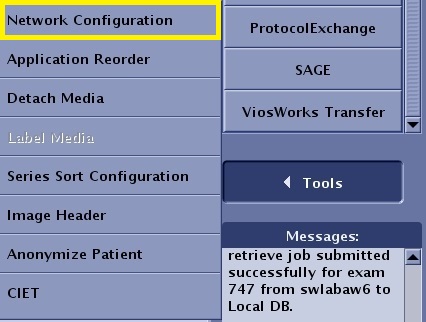
- From the Configure Network Hosts screen, click Add.
Figure 2. Configure Network Hosts screen 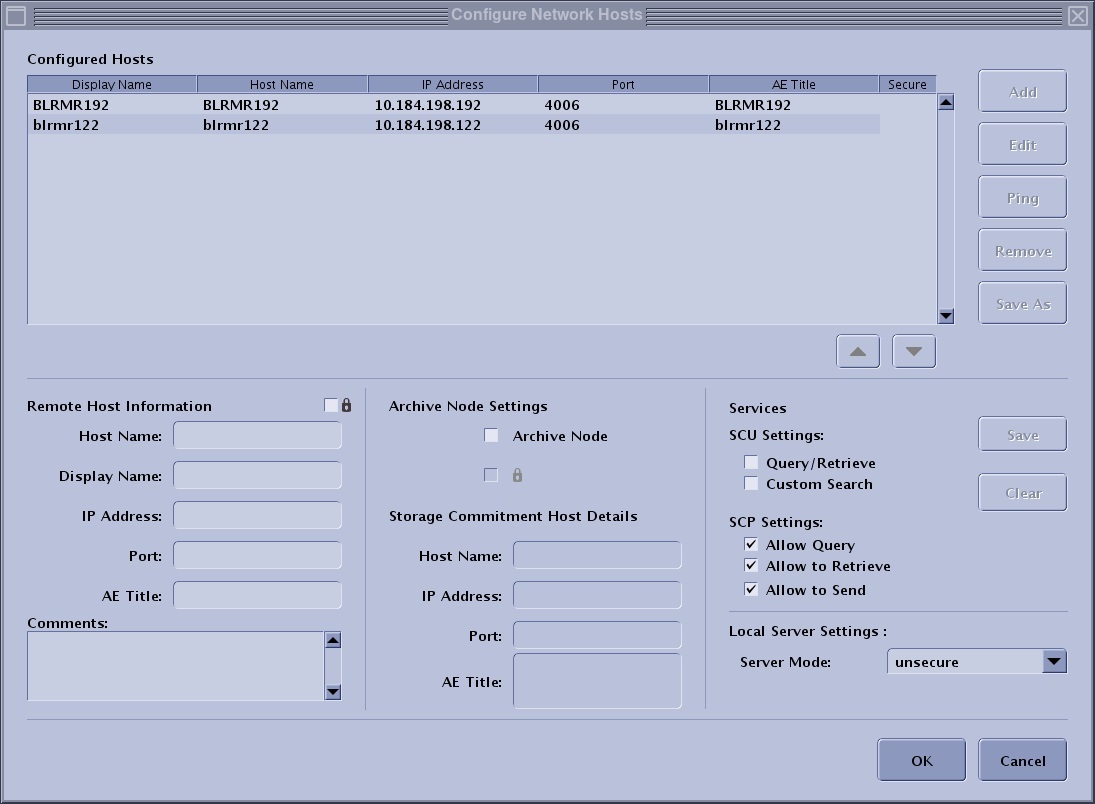
- In the Remote Host Information area, complete all fields.
Figure 3. Remote Host Information area 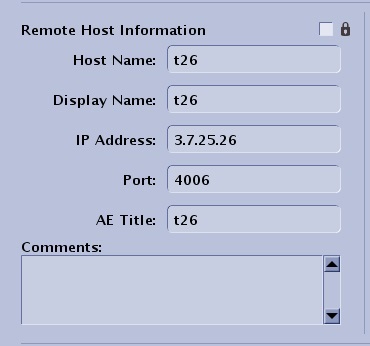
- Lock option box: select the
 to lock your system from being accessed by other remote host MR systems.
 - Host name: the name given to the network node of the currently selected node. This name is typically entered by the service engineer.
- Display name: the name that is shown in both the source menu and destinations displayed in the footer.
- IP Address: the location of the node within the network. You must enter the IP address correctly or the connection can not be made. Your service engineer can help you determine the IP address.
- Port: a predetermined number that is specific to the type of host and the protocol used. Your service engineer can provide you with this number.
- AE title: This title is provided by the service engineer.
- Comments: a space to enter text that is associated with the selected node.
- Lock option box: select the
- In the Archive Node Settings area, complete all fields.
Figure 4. Archive Node Settings area 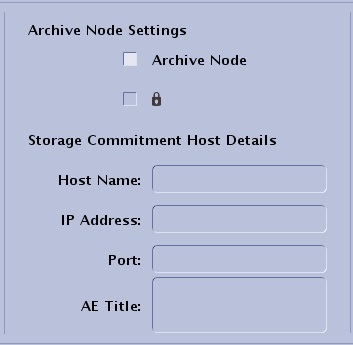
- Select the Archive Node option to place the selected node in the Archive Node List located at the bottom of the Image Management work area. Only devices or nodes that have this option checked can be used as an archive device. Not all hosts can be used as archive nodes (for example, another MR system cannot be used as an archive node, but a PACS system can be used as an archive node)
- To be a successful archive node, the node must meet certain DICOM requirements so that when the data is transferred from the host system to the node, the DICOM handshake can be successful. This is not necessary for networking images. The same handshake is not required.
- The storage commitment host details are populated from the selected Remote Host information. These fields can be edited.
- In the Services area, select the desired options.
Figure 5. Services area 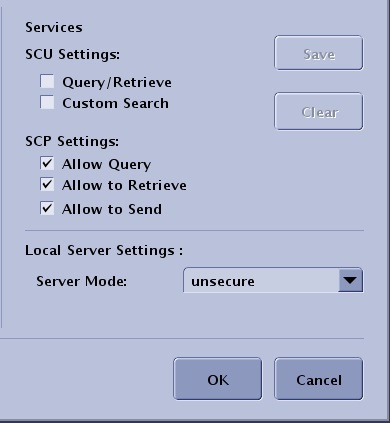
- Select Query Retrieve to ping and retrieve images from the currently selected node.
- Select Custom Search to filter the patient list of the selected node. When you select the current node from the Source menu, the Filter Data screen automatically appears.
- Select Allow to Query to give the currently selected remote node the ability to retrieve from your host system.
- Select Allow to Retrieve to give the currently selected remote node the ability to query your host system.
- Select Allow to Send to give the currently selected remote node the ability to send to your host system.
- Server mode: Review with your IT department to determine your desired level of security with the Certificate Management and the Enterprise tab.
Figure 6. Server mode menu 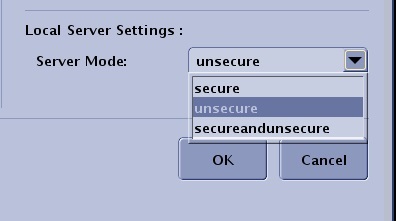
- Click Save to save the settings for the currently selected node.
- Click OK.
- Follow these steps to move nodes on the configuration list.
- From the Configured Hosts List screen, select the node you want to move.
- Click the up/down arrows to move the selected node to a new destination on the configuration list.
- Click OK to update the Archive list and the Network list located at the bottom of the Image Management work area.
Figure 7. Archive list 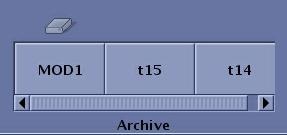
Figure 8. Network list 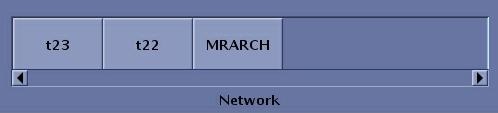
- Follow these steps to adjust the column size on the Configured hosts menu bar.
- From the Configured Hosts List screen, click and drag the line that divides two items on the menu bar to change the space allowed for a column of data.
Figure 9. Column size adjuster 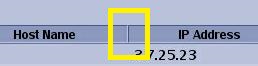
- From the Configured Hosts List screen, click and drag the line that divides two items on the menu bar to change the space allowed for a column of data.
- Follow these steps to remove nodes from the Configuration host list.
- From the Configured Hosts list, select the node you want to remove.
- Click Remove.
- Click Yes to the confirmation prompt.
- Follow these steps to ping a remote host.
- From the Configured Hosts List, select the node you want to ping.
- Click Ping.
- Click OK to the message prompt.
- If a failure occurs, read the prompt to help determine the cause of the failure.
- From the header area of the screen, click the