

- 00000018WIA30EAF770GYZ
- id_400246191.4
- Mar 30, 2022 2:38:50 PM
Export a movie
About this task
Step-by-step instructions
- From the Export Toolbar, click the Movie icon (
 ) to view the Movie screen.
Figure 1. Movie screen 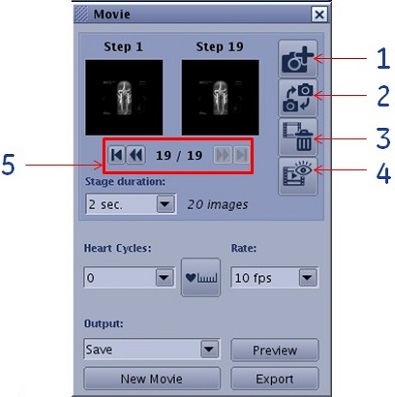
Table 1. Image legend Number Description/Procedure 1  Click to add an image to the movie.
2  Click to replace an image in a movie.
3  Click to delete an image from a movie.
4  Click to preview a step in the movie.
5  Click the arrows to select a step.
Stage duration Select a transition time between two displayed images: 1, 2, 5, 10 or 15 seconds. Heart Cycles 4D movie: Multiphase data MR Load the multi-phase protocol In the Movie tool panel.
Click the Heart Cycles arrow and select the number of cycles (cycle consisting in playing all phases loaded) to be displayed in one movie loop.
Cardiac data: Click the Cardiac Ruler icon (
 ) to adjust Cardiac Cycle to the actual heart rate.
Rate Select a movie frames per second: 2, 5, 10, 15, 20, 25 or 30. Output Select an option from the menu: Film, Save or Film & Save. Preview Click to preview the movie. New Movie Click to create a new movie. Export Click to export the movie to the patient list. - Click the Add Image icon () .Continue to add images to build the desired movie.
- A prompt appears to name the output series if, on the Export Preferences screen, the Ask for description option box is selected. For details, see Export preferences: select save and export options.
Figure 2. Series description prompt 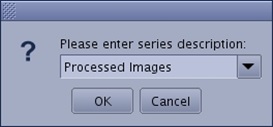
- Type and enter a name in the text field or select a name from the menu.
- Click OK.