

- 00000018WIA30F0F770GYZ
- id_400270971.2
- Mar 9, 2022 12:55:32 PM
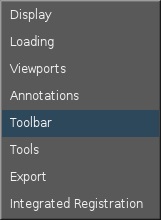
Toolbar preferences: select icons to display on screen
To view the Toolbar Preferences screen, from the MR General Review work area, click the ![]() in the upper right corner. From the Preferences menu, click Toolbar.
in the upper right corner. From the Preferences menu, click Toolbar.
To close the Preference screen, click the X in the upper right corner.

| Number | Description/Procedure |
|---|---|
| 1 | The icons that are on the right-click menu, top row. The maximum number of icons allowed is 6.
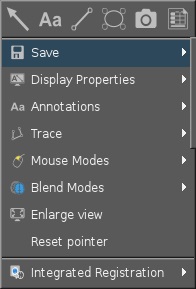 Click, drag and drop an icon from the lower part of the menu to the top portion of the menu. |
| 2 | Click the checkbox next to the icon to have it appear on the appropriate Toolbar area. The system default is to have all icons selected for each Toolbar area, therefore, if you never use certain icons, you can customize each Toolbar area to include only those icons used at your facility.
Alternatively, click, drag and drop icons directly from the toolbar to remove them or insert them in the toolbar. Consider deleting all icons and then drag and drop the icons in a desired order. As more icons are selected for a given Toolbar area, then an arrow appears to expand the Toolbar area. 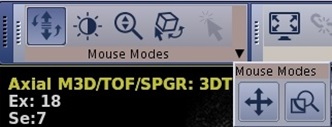 |
| 3 | Click an icon size option and all icons are adjusted. |
| 4 | Click the Display category name option box if you want the name of the Toolbar area to appear below the icons.  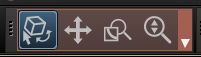 |