- 00000018WIA3087A970GYZ
- id_400237911.6
- Mar 30, 2022 2:25:41 PM
MRA workflow
About this task
Note: The time stamp on MRA images corresponds to the time of the landmark, not the time the source images were acquired.
Step-by-step instructions
- Define a MIP cut.
- From the Segmentation toolbar, click the Scalpel icon (
 ).
). - Move the cursor to the start location of your cut.
- Click and drag around the anatomy of interest.
- From the Segmentation toolbar, click the Scalpel icon (
- Create the cut.Click Cut Outside on the Scalpel tab.
Figure 1. Image with and without cut applied 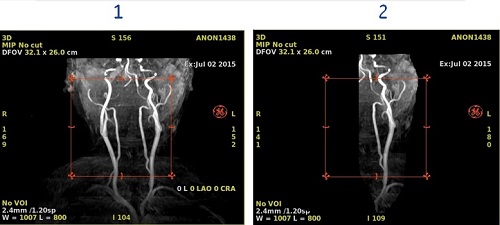
Table 1. Image legend Number Description 1 MIP image with no cut applied. 2 MIP image with one artery cut. - Optional: Reverse the cut.For some applications, such as carotids, it is useful to first cut the left from the right carotid when viewing the coronal collapsed image before proceeding to cutting from other planes.
- After the first cut has been made, place the cursor in the 3D View and select Save Volume from the right-click menu.
Figure 2. Save Volume 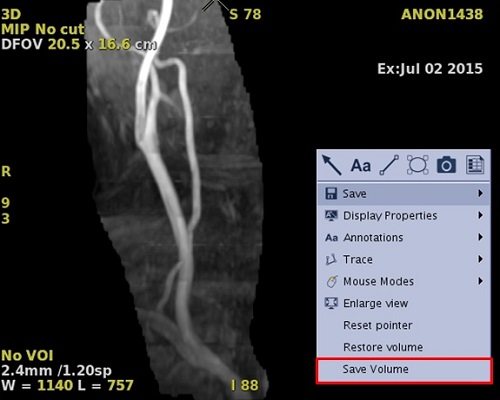
- To place the cut volume in the Save Recall screen, click the Export tab and click the Save/Recall icon (
 ).
). - A maximum of eight images can be saved to the Save Recall screen.
Figure 3. Cut volume in Save Recall screen 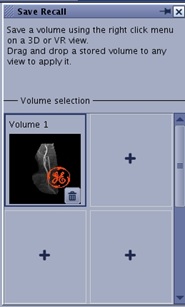
- A maximum of eight images can be saved to the Save Recall screen.
- To restore the volume for the next cut, in the 3D View, right-click and select Restore Volume.
- Repeat step b. The Save Recall screen now has both the left and right carotid volumes.
Figure 4. Save Recall screen with two volumes 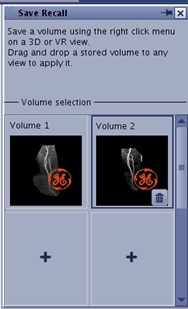
- To recall a volume, click, drag and drop a volume from the Save Recall screen to any viewport.
- To deleted a volume from the Save Recall screen, click the Trash Can icon (
 ) in the selected Save Recall view. Respond to any prompts.
 - To close the Save Recall screen, click the X in the upper right corner.
- After the first cut has been made, place the cursor in the 3D View and select Save Volume from the right-click menu.
- Optional: Invert the video display.
- Click the Visualization toolbar.
- Click the Color icon (
 ).
). - Click Color Map arrow pull-down to open the selection bar.
- Click Inverse Gray to invert the video display.
- To exit the MRA or MR General Review application session, see Volume Viewer workflow.
- Once MRA is exited, the MIP images are gone unless they were saved from the Batch screen.
- Click OK to the prompt and check the Auto save state selection box, if desired.
- If Auto save is selected, the data’s VOIs are retained and data selected is displayed with the last VOI before exiting the Volume Viewer. To view the data set without the VOI, click on the original data set from the browser.
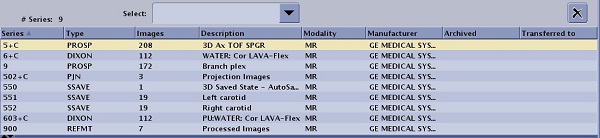
Figure 5. Patient list