Use these steps to generate a curved reformatted image.
Step-by-step instructions
From the Patient List, select a reformat appropriate exam.
From the Session Apps List, click Reformat/MIP.
The Reformat package uses the FIRST selected image in the Patient List as a basis for using/discarding the other images selected for reformation.
All images must have the same orthogonal scan plane, image center, and pixel size.
Screen saved images are not allowed.
The range of images selected must not contain two images at the same location, and the inter-slice distance must not exceed 10 mm.
Isometric voxels and overlapping slices improve the quality of Reformat images.
Select either a baseline or oblique view.
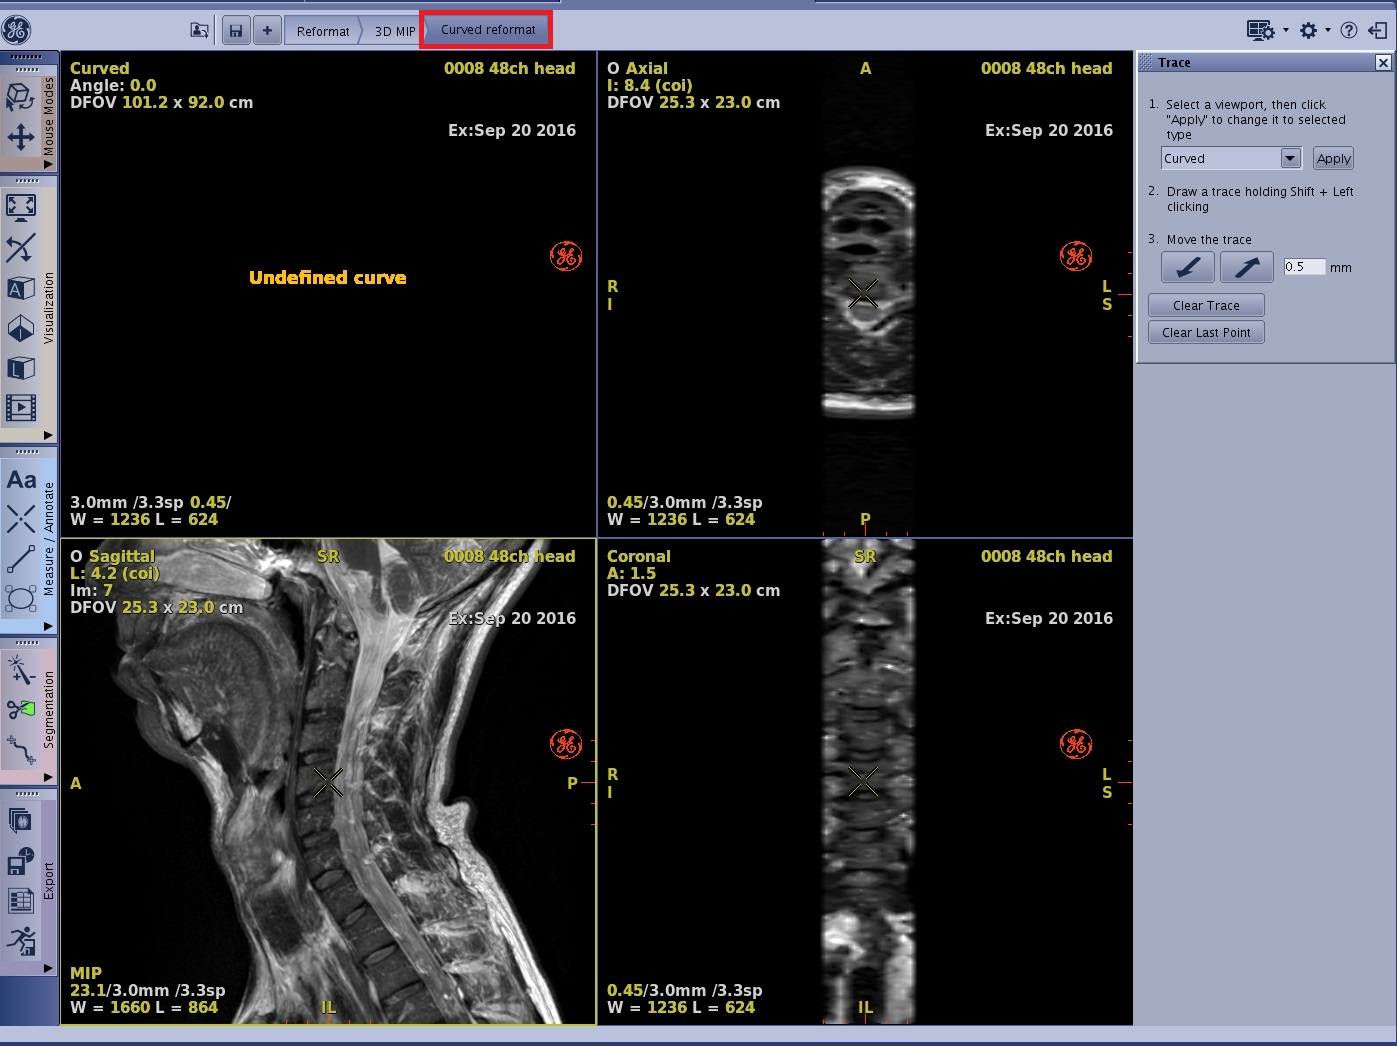
From the Review Steps, select Curved Reformat.
Figure 1. The view displays Undefined curve until you start to define the trace
Place the cursor in the viewport from which you want to define the curve.
Move the cursor over the starting area, press Shift and click to start your trace. Continue moving the mouse and clicking to deposit points. You can create a trace using more than one image or one plane to encompass a tortuous vessel.
The curved view shows a reformatted view corresponding to a plane that passes through the trace and is perpendicular to the definition view. This image is updated each time you add a segment to the trace.
Warning
A curved VOI can introduce distortion in the shape of objects. To prevent misinterpretation of the shape of an object, always verify the cursor position by correlation with the baseline and reformatted views.
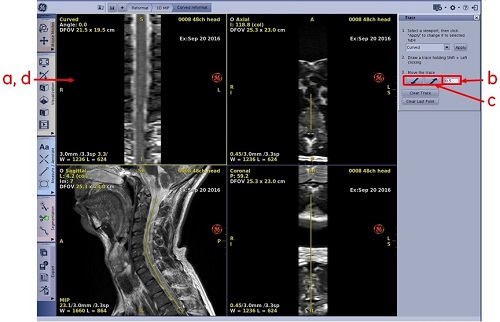
To save each image in the curve, follow these steps.
Click the curve viewport to make it primary.
From the Trace screen, enter the number of mm between images.
Use the diagonal arrows to step through the curved image.
Right-click the curved view and from the Save menu select Save Image after each step.
Figure 2. Save each image in the curve
Note: When saving the result of a curved reformatting operation, always include the view on which you have defined the trace in the record. Without this information, it is impossible to interpret a curved reformatted image.
To edit or clear a trace, follow these steps.
From the viewport containing the trace, simultaneously press the Alt key and click and drag a green marker to move an original point, or click a yellow marker to move a section between points.
From the Trace screen or right-click and from the Trace menu, select either Clear last point or Clear trace.


 Note: When saving the result of a curved reformatting operation, always include the view on which you have defined the trace in the record. Without this information, it is impossible to interpret a curved reformatted image.