Use these steps to acquire and process Silenz MRA axial, sagittal or coronal neurological MRA images with ASL and without the use of contrast agents on your MR system. Silenz MRA is compatible with:
Warning
IEC 60601-2-33: 201.7.9.2.101 (d) Hearing protection is required for all people in the magnet room during a scan to prevent hearing impairment. Acoustic levels may exceed 99 dB(A)
Step-by-step instructions
Position the patient for a head exam.
Provide the patient with hearing protection. Although the Silenz MRA scan is very quiet, hearing protection is still required because any other prescribed scans including prescan and non-Silenz sequences may have acoustic levels exceeding 99 dB(A).
Silenz MRA is compatible with a limited number of coils:
Open a scan session.
From the workflow Manager, click Add Task > Add Sequence.
Silenz MRA is a neurological application, so typically the protocol is located under the Head tab.
From the Protocol list, click the Silenz MRA series and add it to the Multi-Protocol basket.
Click Accept.
Acquire the 3-plane localizer.
From the Workflow Manager, select the Silenz MRA series and click Setup.
Confirm that Silenz is selected on the PSD/Imaging Options Application area.
Confirm that Bright Blood (ASL) is selected on the Imaging Option area.
From the scan parameter screen, select Slice Thickness and Slices per Slab.
To view the Details screen, click the of the scan parameters screen. Make scan parameter adjustments as needed.
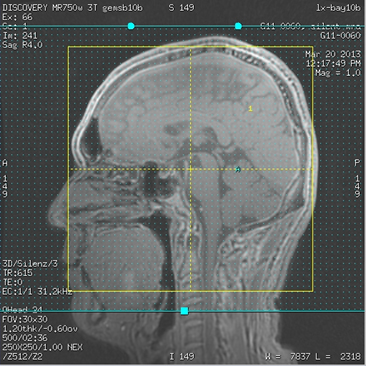
Silenz MRA images can be acquired in the axial, sagittal, and coronal plane.
From the scan parameter screen, review the Acq Voxel Size display. For more details, see Advisory area. Figure 1. Silenz advisory area
See the following Silenz specific topics for scan parameter details: Spokes per Segment
Maximum Intensity Projection. Typically select Automatic.
MultiPlanar Reconstruction (MPR).
When the prescription is finished, click Save Rx > Scan.
It is only the Silenz MRA scan that is quiet. The prescan portion of the Silenz MRA scan is quieter than prescan for other sequences but the prescan sound and subsequent series require that all patients have hearing protection.
Due to the very quiet nature of the Silenz MRA scan, remind the patient to hold very still when the scan is about to start and inform the patient when the scan is completed.
It is useful to observe the scan countdown on the AutoView screen to check the scan's progress.
When the Silenz MRA series is completed, execute the following steps to view the reformatted images:
Select the scanned series from the Workflow Manager task list.


 of the scan parameters screen. Make scan parameter adjustments as needed.